
Bathroom Floor Underlayment – Part 1
Before the tile can be installed on the bathroom floor, we had to install the heated floor mats. Yes, that’s right…heated floor. AWESOME!
To install the floor, we first scrubbed and scored the plywood subfloor really well. Then we layed out our 2 floor mats – 15′ and 10′.
We used this super cute little stapler to staple them down
and then hit anything sticking up with a dab of hot glue.
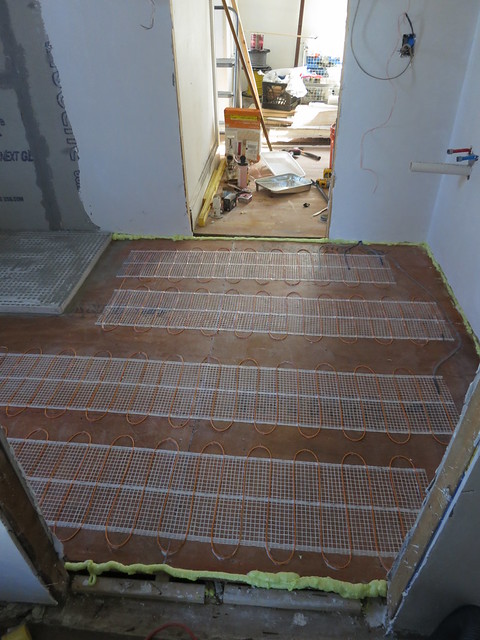
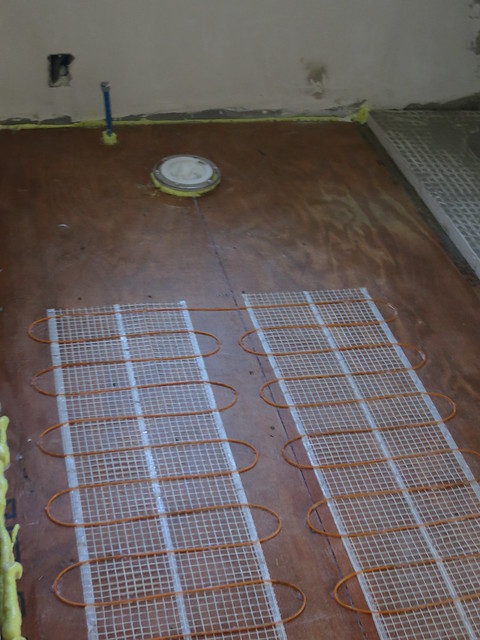
The wires from the mats along with 2 thermostat wires are pulled up to the box that will hold the controller. We left a pull wire for just this purpose.
We have 2 thermometers embedded in the floor. One is a backup. The thermometer is one of the most likely failure points so a spare is good.

I hot glued all the wires so they stay down nice and tight. Nothing was moving at all.
After the heating mat, it was time for the self leveling compound.
Check out PART 2 for more details.
Whoo heated floors. My toes are soooo excited. My feet are looking forward to it as well.
Sarah
Trackbacks & Pingbacks
[…] Part 1, I talked about laying down the heated mats. After the mats were down and ready, it was time for […]
[…] Click here for Bathroom Floor Underlayment – Part 1: heating mat and here for Bathroom Floor Underlayment – Part 2: SLC take 1 and here for Bathroom Floor Underlayment – Part 3: SLC take 2 […]
[…] them out in order to get the room flat. Then we layed down a nice 3/4″ plywood subfloor. In Part 1 I talked about laying down the heating mats. Then we spread a layer of self leveling compound in […]
[…] you want to see what all we did to get ready for tile: Click here for Bathroom Floor Underlayment – Part 1: heating mat and here for Bathroom Floor Underlayment – Part 2: SLC take 1 and here for Bathroom Floor […]