Wiring the Den
We’ve made a lot of progress getting the den wired up. For the most part, the power is where it needs to go and the data is where it needs to go. We had a little too much fun designing the wiring plan and we have all sorts of handy upgrades in place.
First off, we are planning on using this awesome sound system wiring plan.
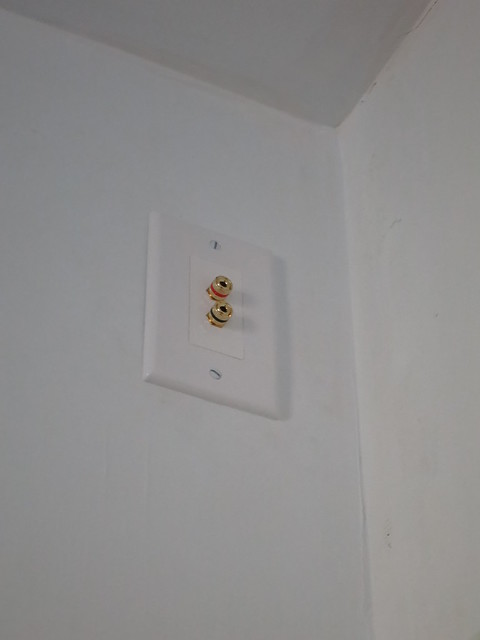
We’ve even got one already wired up but we’re waiting to install most of the wall plates etc until I’ve painted but we had to see what the right rear speaker plug would look like. So polished!
And, while we were pulling wires and had the appropriate tools and mess already set up, we made a last minute decision to install power and data for a projector. It is the appropriate distance from a stud for mounting the projector and we have ethernet run from the “TV Center” area up to the ceiling. We are planning on using HDMI over ethernet since the run is longer that what HDMI cables are capable of handling.
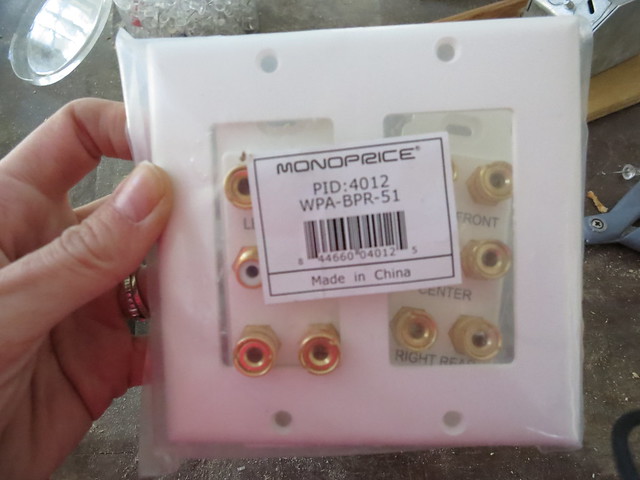
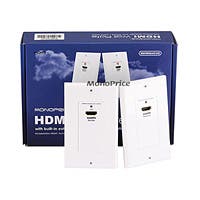
They even make face-plates that include the necessary hardware for HDMI over CAT-6 (ethernet cable).
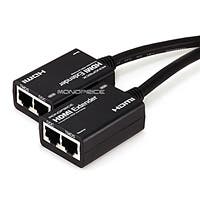
Or you can just use these handy converters.
Click on the image to visit the Monoprice website where they are sold.
So much fun wiring! I hope to have some of it up and running by Christmas but we’ll see. I’ll be happy with functional lights and switches!
Sarah
Pulling down the moldings
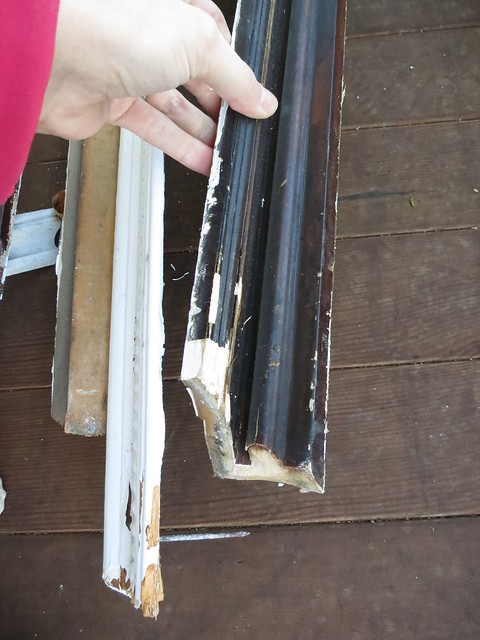
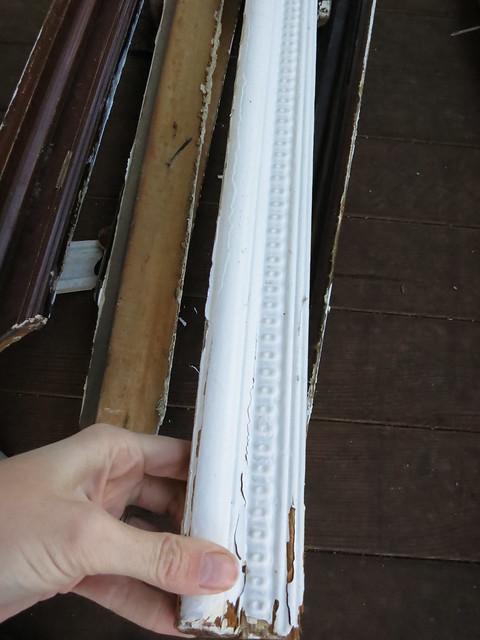
In the first floor entry, dining room, and piano room, we are having the ceilings re-done. We have a plaster guy that is going to put up 3/8″ blue board and plaster over it to tighten up and clean up the ceiling. Before we can get that crew in, the crown moldings needed to come down. The crown in the entry and piano room was a picture rail molding that wasn’t installed or stained particularly well. We’re planning on upgrading the moldings to something a little more substantial. Â Here are the picture rail moldings stacked up on the porch.
You can see they were in rough shape and would have needed a fair amount of work. Since the ceiling is being re-done, it was a good excuse to ditch them and start new.
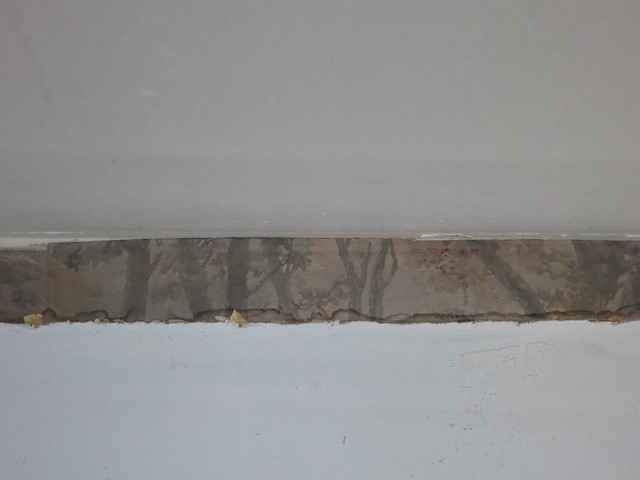
I pulled them down in the Piano room first and I notices some odd brown paper under the moldings. It wasn’t until I moved on to the entry that I realized it was the original wallpaper. The paper in the Piano room must have been a different type because it looked like kraft paper and I couldn’t descern any original pattern. In the entry however…
There is the neat hand painted forest/tree paper. Very much back in style and great colors!
In the dining room, there was a painted moldings that really was quite pretty.
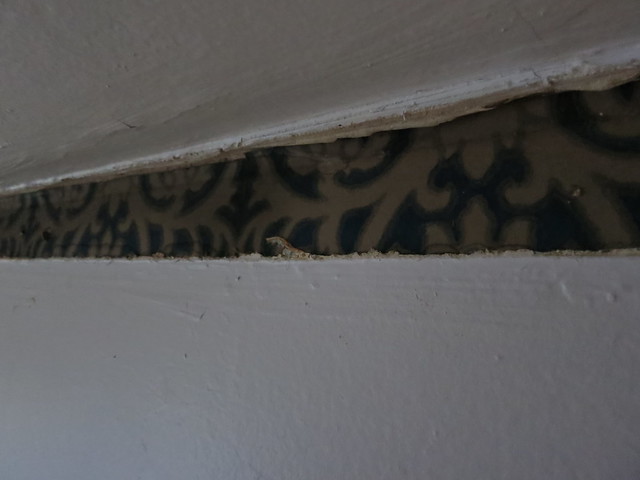
I do think it’s time to upgrade to something a bit more substantial to show off my tall ceilings but it really is sweet molding. Under that trim, was this bold graphic pattern in navy and gold.
Again, very much in-style with the stenciling craze these days but decidedly too dark for the room. If the entry still had the trees, I might have kept it but that navy print would have had to go.
I’m still working on scheduling the plaster guys but I’ll keep you posted!
Sarah
Bathroom Thresholds
Last week we finished up the bathroom thresholds. Â These were actually quite tricky to put together, but we got the help of remodeling services from https://phxhomeremodeling.com/bathroom-remodel-chandler/ to make it easier.
On the closet side of the bathroom, everything was pretty straitforward. Â There was just a half inch of height difference so a strip of marble and a piece of shoe rail solved the problem.
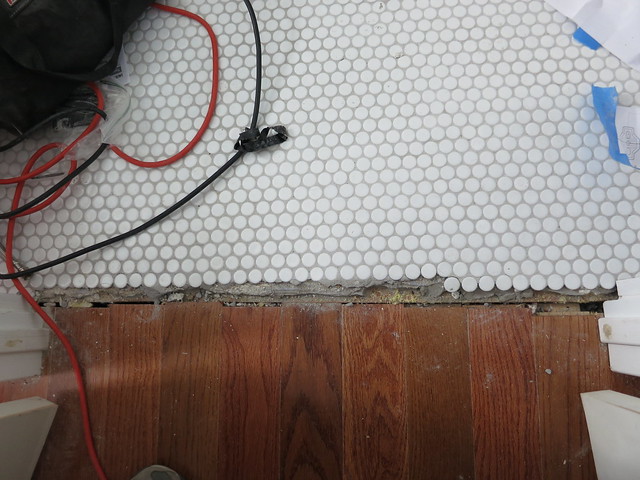
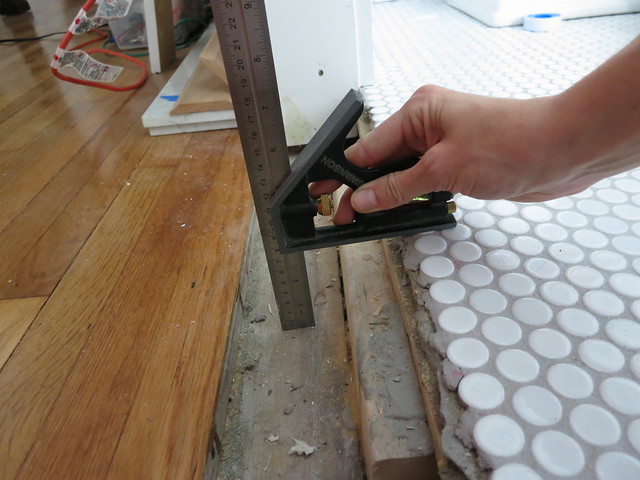
On the bedroom side, however, we had a decided step. It was approximately a 2 inch drop from the tile down to the wood floor in the bedroom.
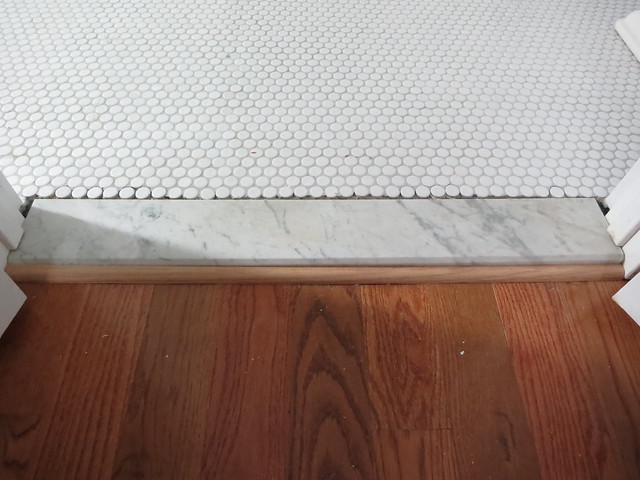
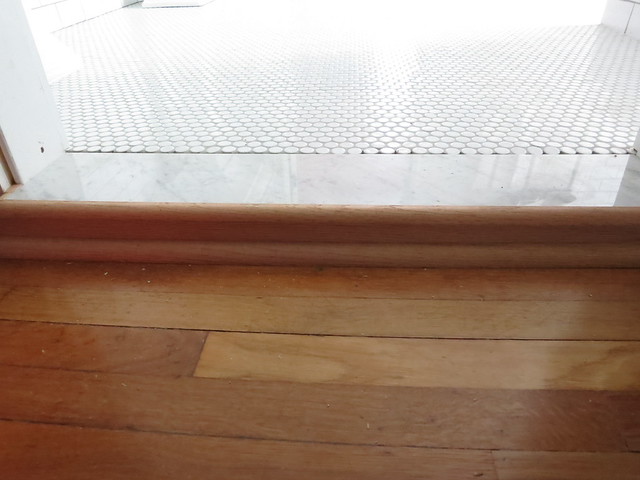
We ended up going with a slight step rather than trying to make a ramp-type transition. We have a piece of marble, a piece of shoe rail, a vertical step, and a piece of quarter-round to finish it off.
It turned out really good though I was concerned about the step. We really didn’t have much choice since the height difference was so large and thankfully we had the Platinum Pro Portables rents luxury portable toilets in Los Angeles County and surrounding areas service in the mean time the house was remodeled.
I’ve still got to stain and polyurethane the wood portions but all in due time. I’ve got a ton going on these days!
Sarah
Shoe Storage in the Closet
I went back and forth trying to figure out the best and cheapest way to add shoe storage to the closet.
To refresh your memory, this post gives a good overview of the closet.
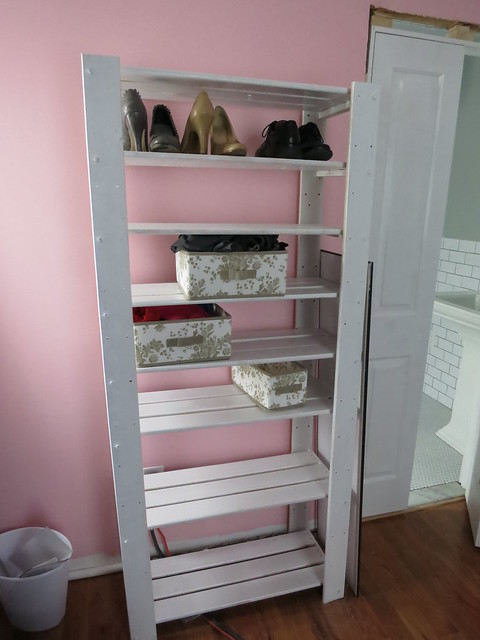
To make the shoe shelf, I started with some ikea shelves. The cheap Gorm series. You should check out these Shelving Structures for other great options.
They are now $29 but when I bought them last year, they were $19 and the additional shelves were on super discount 2 for $3. I ended up using 8 shelves total for a total cost of $26. And if you need more options Louisiana Custom Closets creates beautiful custom closets, pantries, laundry rooms, and garage storage solutions, which you can keep safe by installing good garage doors, with a garage door panels install and repair service online. Find so if you want to create a good closet, you can find them on the web at https://www.louisianacustomclosets.com/
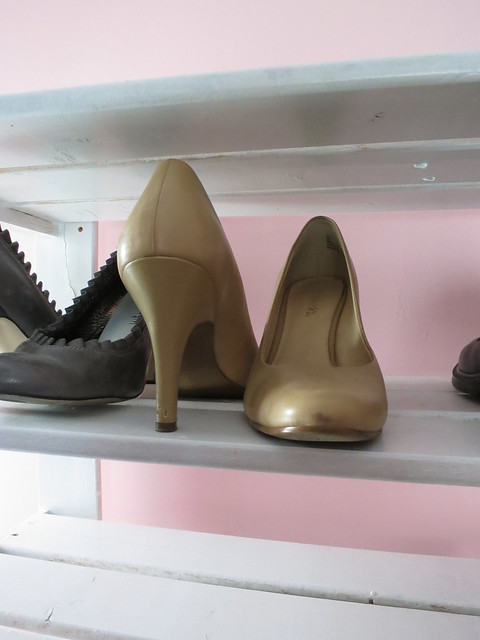
I primed and painted all the shelves with my trim paint. To assemble the shelves at the height I wanted, I had to have Hagstrom Drilling help me drill the holes. I ended up with a shelf every one and a half hole spaces which was the perfect height for my heels or for a shoe box. We needed to get rid of a bunch of things but I wasn’t in the mood for throwing or giving away some of my belongings, so the easiest option for when you don’t want to give up your things and want to save space in your home is to get one of these wire shelving units for more a place to store your items.
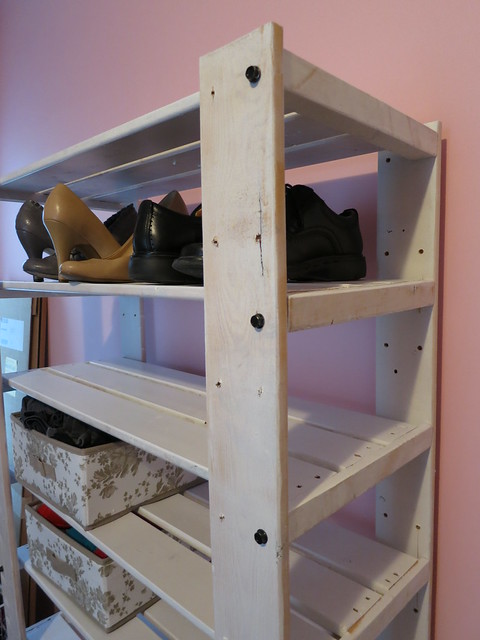
You can see in the picture above the bolts aren’t all on the pre-drilled holes.
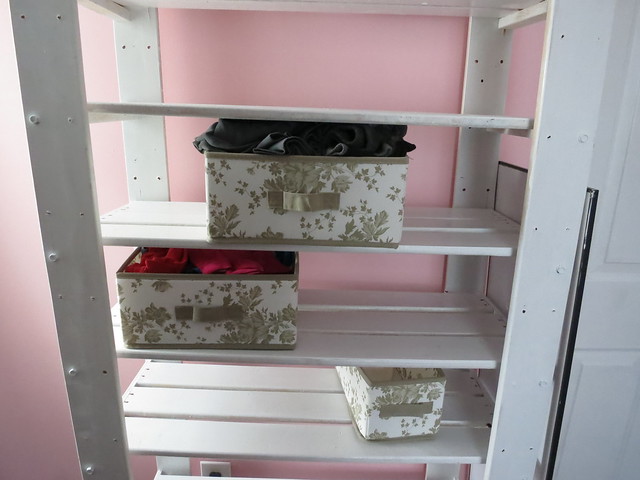
As an added bonus, these ikea half-height boxes also fit nicely.
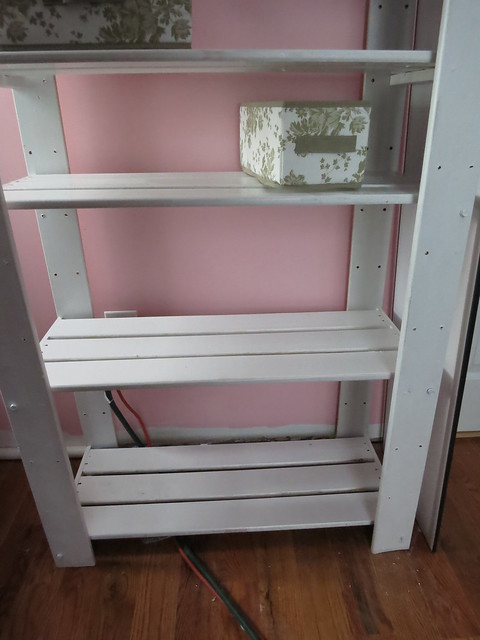
I also added some taller shelves for winter boots on the bottom, this closet design seems to be one of the best ones for me.
I ended up painting the black bolt heads white which really cleaned up the look. The Gorm shelf is definitely more utilitarian but the slatted shelves are perfect for shoes and it is the perfect depth. I think a coat of white paint dresses it up sufficiently well for the space.
Sarah
-
Advantages Of Automatic Garage Doors – Poetry of Today
[…] Automatic garage doors are becoming popular, and more people are planning to install these doors in their garages. They are preferred, but there are advantages and disadvantages of using this technology, and might not be a good idea for all home and garage owners. If you are wondering whether you should go ahead with the traditional doors or motorized doors, read on to know more about these doors, which will enable you to make a better-informed decision.Source […]




sheila zimmermann
11/1/2013 | 9:33 am Permalink
If walls could talk.