Backsplash Part 1
I have officially finished phase one of operation backsplash. We went with white subway tile in a herringbone pattern and I LOVE it!
I started in the middle of the stove area and worked out from there.
I did all the easy parts before working on all the complicated cuts.
It starts really coming together. And once I’ve cleaned off all the tool-mess I made, it really looks wonderful.
Finishing up the grout work should only take another day or so. From there we will be able to clean up everything with grout and put up the final piece of window trim. It’s so exciting to see things coming together.
Sarah
Kitchen Counters Complete!
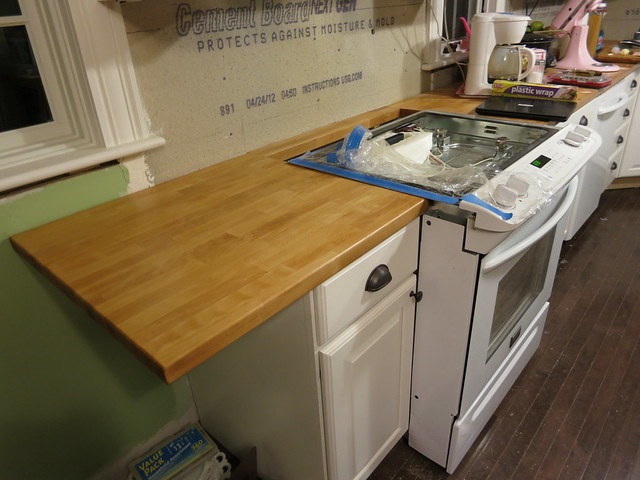
We have finally installed the final cabinet and the last of the kitchen counters!
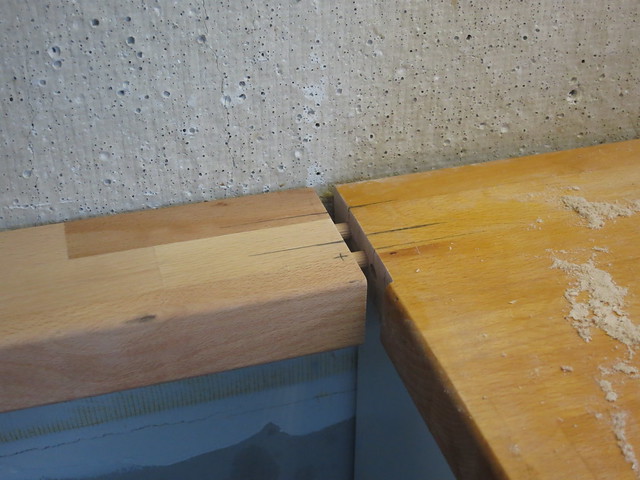
We dovetailed in the narrow piece behind the stove at both ends.
and added the large final piece of counter to the left of the stove.
We let it overhang the final counter with the intention of adding some open shelving under the overhang.
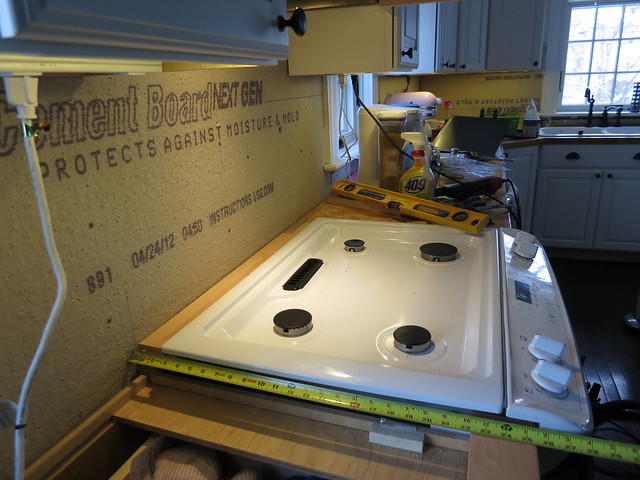
We had to take off the stove-top in order to sand and finish the counter. We used the same sealer as the rest of the counters: Waterlox Original Sealer.
It looks wonderful and as soon as the last coat has dried, it will be time to tile the backsplash!
Sarah
Kitchen Window Trim
Just a few weeks ago, I asked you about the kitchen window trim. We decided to go with the more ornate trim that’s in the rest of the house and it looks great, since we got some professional window fitters to do this job for us.
The notched and trimmed moldings look fine and Vector LOVES his kitchen window sil.
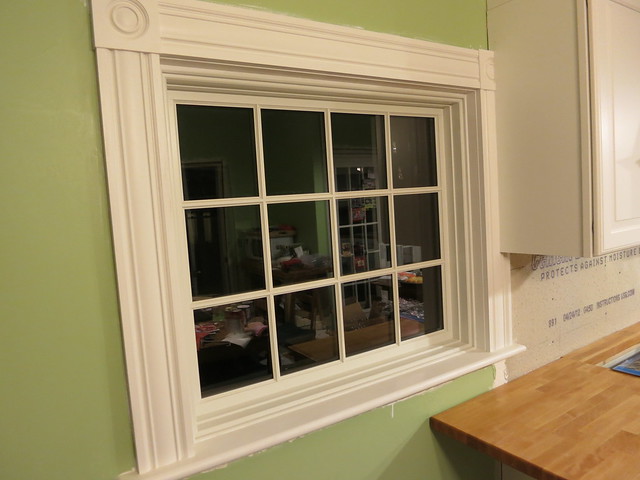
The center Westview Glass looks a little cramped but it blends with the cabinets in a way that looks purposeful. The human eye naturally goes to the brightest place in a home, states real estate photographer Larry Lohrman. And, in most homes, this is the window. They let in light, keep out the elements and frame your view of the world. So, as a real estate agent broker, but you can learn about day in the life of a Commercial Broker at https://spaceselectors.com/why-personal-guaranty-denver-commercial-real-estate-lease/.
.
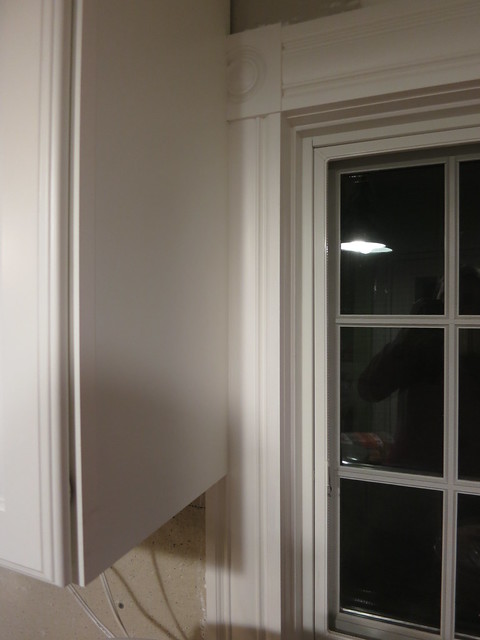
The sink window is perfect thanks to markisen dresden and the sil is already doing it’s job of holding jars and things that I want out of my way.
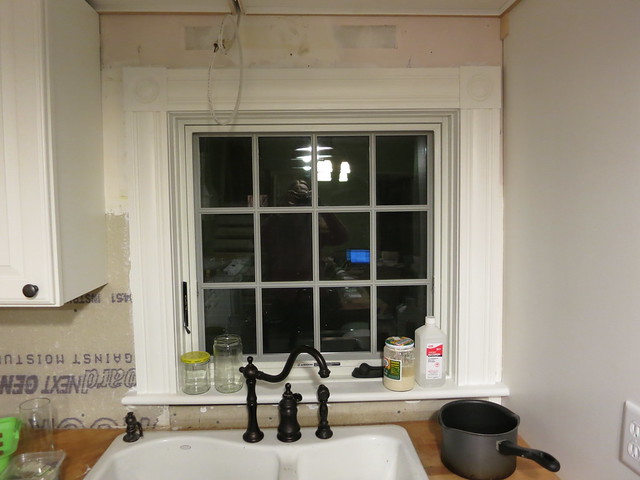
I primed all the trim with Zissner primer and then painted with Behr Ultra in Satin that was matched to the cabinets. You can hardly tell they aren’t the same color!
After we finish the last bit of counter, it will be time to tile the backsplash! I’m so excited about it!
Sarah




Orchid
3/5/2014 | 9:58 pm Permalink
You’re kitchen is beautiful Sarah!!
Orchid
3/5/2014 | 10:01 pm Permalink
Gah *your. PS love that you have a pink KitchenAid haha 🙂
sarahmzim
3/14/2014 | 9:11 am Permalink
thanks! Wedding gift. How could I resist?
Trackbacks & Pingbacks
[…] while ago, I posted Backsplash part 1. Today, I’m going to show you part 2: […]