The Bed delimma
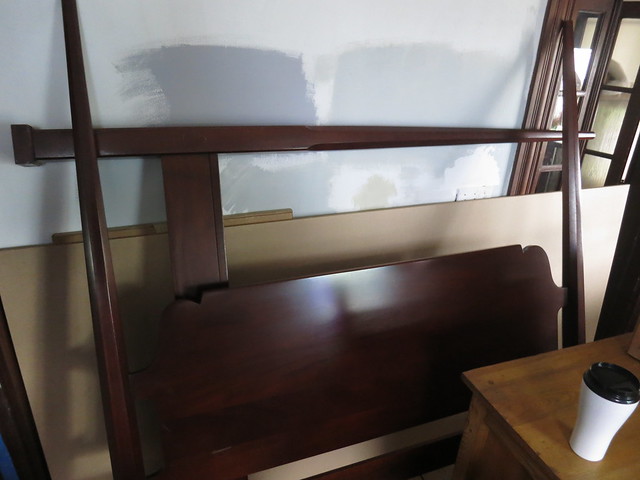
A couple weeks ago, we drove out to central MA to pick up this georgous queen mahogany bed for $400.
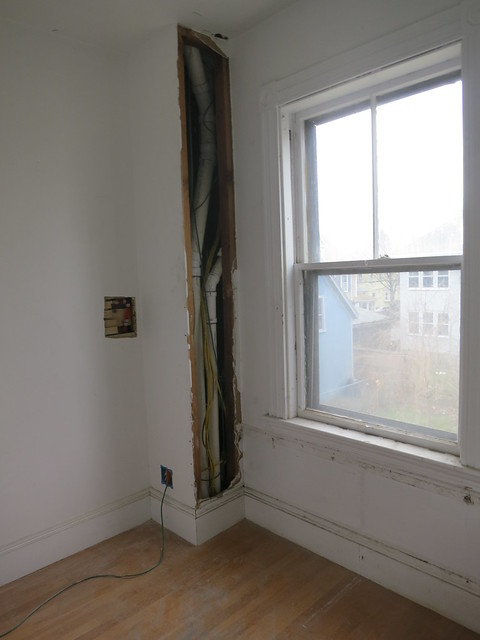
You can see it is obviously not in our master bedroom where it belongs. One.small.problem…. It doesn’t fit up the stairs. Nothing is ever easy with us! So for now it is decorating the entry way. We have a plan though. We are planning on going through this window:
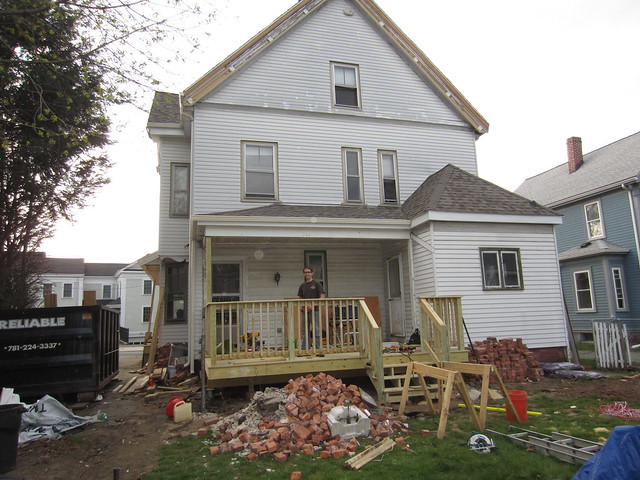
Which translates to the large window on the second floor in this photo.
Another few weeks and we’ll have replaced all 3 second floor windows on the back of the house. This window will be a test-run for replacing the rest of the windows in the house with little or no destruction of the interior walls. We’re hoping we can pop off the moldings, pull out the old window, pop in the new window and cover up the plaster mess with the moldings again. We’ll keep you posted!
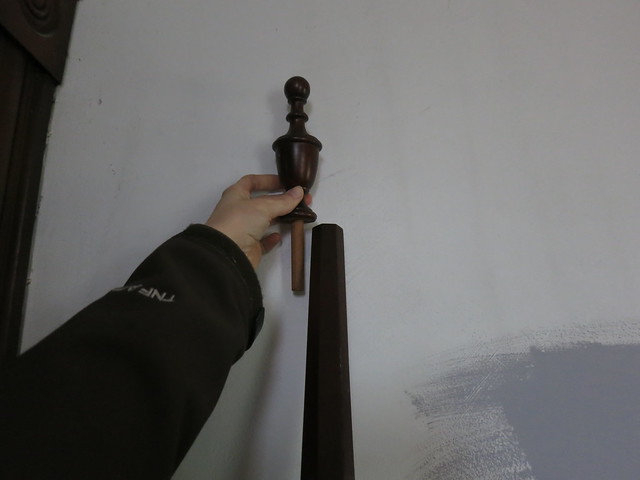
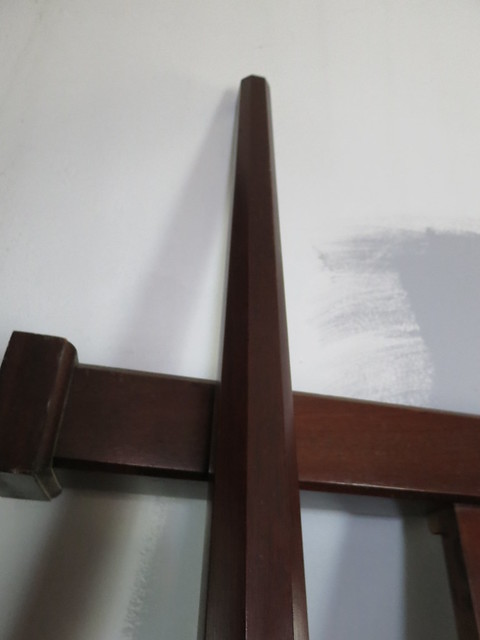
We already ordered the window and once it’s in, we’re planning on hoisting the bed through the open window. It will be a VERY tight fit but I think we can do it. The plan is to get a handful of people to help. It isn’t heavy, just awkward shaped and I just HAD to have a 4 poster bed. I also go a new coverlet for our bed, its beautiful. But look at it! Octagonal posts with little finials on top. Shiny dark mahogany.
Here’s that same picture but I just loooove it.
I was looking all around for a bed I loved and I couldn’t find it anywhere and then BOOM craigslist came through.
Now we just need to go mattress shopping with our Nolah Mattress coupon codes and we’ll be sure to get a split boxspring for a great price! I’m pretty sure there’s no way a queen mattress will fit up the stairs and we’re running out of windows to replace!
Sarah
Bathroom Floor Underlayment – Part 3
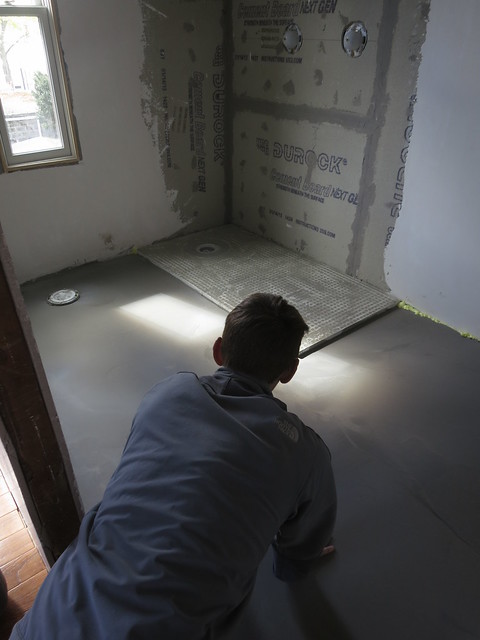
In part 2 of the bathroom floor underlayment, we poured a layer of self-leveling compound. I mentioned that it sets up really quick and you can’t keep touching it. Lesson learned. By the time it dried up it was a bit too wavy for our liking. So, back to Home Depot to pick up 3 more bags. This time Stefan and my Father went to town. We really learned how it works on the first go round and the second layer got nice and flat.
Here Stefan is caressing his dead flat, smooth floor. Between the Self Leveling compound and all the tiling, there was lots of floor caressing this weekend. It helps to show your house you love it. It will behave better if it knows you care.
Click here for Bathroom Floor Underlayment – Part 1: heating mat
and here for Bathroom Floor Underlayment – Part 2: SLC take 1
Sarah
-
Bathroom Floor Underlayment – Part 5 | | Craft, Decor, Art, Garden, and Dessert
[…] down the heating mats. Then we spread a layer of self leveling compound in Part 2 and another in Part 3. Part 4 discusses the curb and wall for the shower […]
-
Tiling the Bathroom Floor | | Craft, Decor, Art, Garden, and Dessert
[…] Part 1: heating mat and here for Bathroom Floor Underlayment – Part 2: SLC take 1 and here for Bathroom Floor Underlayment – Part 3: SLC take 2 and here for Bathroom Floor Underlayment – Part 4: Curb and Wall and here for Bathroom Floor […]


sheila zimmermann
5/31/2013 | 1:39 pm Permalink
I love the bed. I’ve never heard of a split queen mattress. the temperpedic top part comes rolled up and sits on a standard qn box spring with a nice plywood top. we reused our bottom part and made the plywood piece. The mattress kind of blows up when they unroll it. I don’t know how you would ever get it rolled back up if you needed to though. Could be an option for you.
[WORDPRESS HASHCASH] The poster sent us ‘0 which is not a hashcash value.