New light in the Bathroom
Stefan has been hard at work getting the electrical up and running in the master bathroom.
Besides outlets, switches, and the vanity lights, he also installed this mini-chandelier overhead. Â It is nickel not chrome but I LOVE it. Â I’m just not sure if it’s working in the space. Â We’re thinking about moving it into our bedroom and installing recessed lighting in the bathroom instead. Â What do you think?
Vector was a big help installing it. Â He insists on being at the top of the ladder keeping an eye on things.
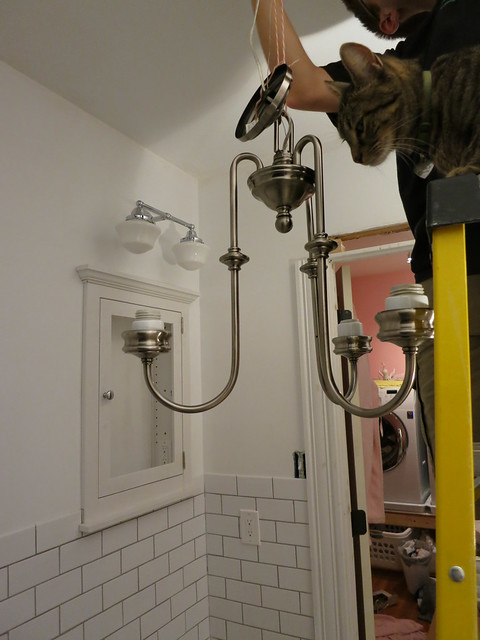
What do you think? Â Is the mixed-metal tone alright in an older house or does it just look out of place? Â What do you think of the light in general? Â Do you love it as much as I do?
Sarah
Bathroom Update
It’s been slow but steady progress on the master bathroom. The emergency gas engineer came last week and checked for the hot water supply only to find and fix the broken line. The only thing taking time is the tiling of the bathroom. There is SO MUCH tile in that room.  I’m to the point where I never want to see another subway tile in my life!
I had really hoped to get the shower finished last week before my impromptu trip to Austin for a Girl’s Weekend with my sister and our super good childhood friend Alex. Alas, it was not to be. Should have called the experts at Superior Shower Door & More, really. After I realized I didn’t have enough tile to finish, I lost steam and didn’t manage to even finish the “easy” parts.
I’ve got that top of the short side of the shower and all the edging around the curb to do. I’m not looking forward to that edging but once I get going, hopefully it won’t take long.
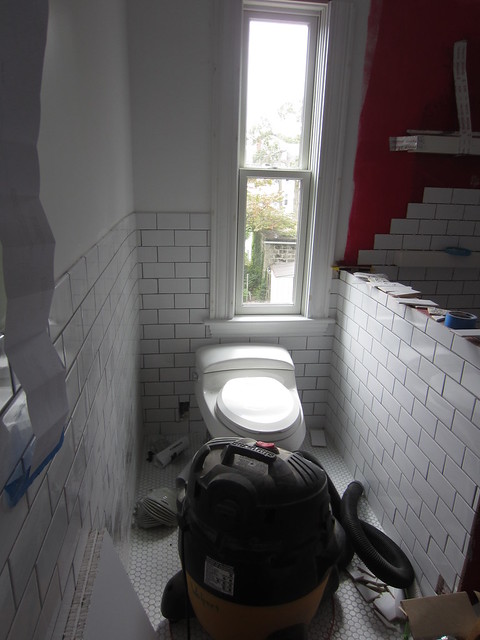
On the plus side, the toilet is in and functional!
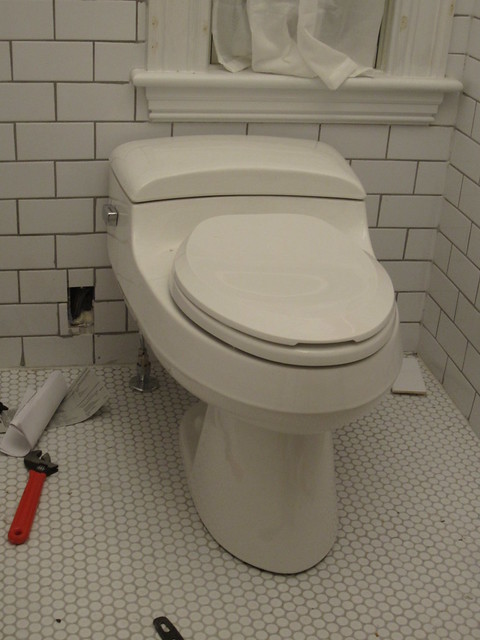
It’s an ugly toilet but it fits under the window. whohoo! Also, it ran really bad when we first installed it and Stefan took it apart and fixed it while I was off gallivanting in Austin, also we added Air Conditioning trough the bathroom.
- It’s good advice to arrange for 3-5 free quotes when shopping for a new AC unit, because service call fees will get expensive
- Each contractor will bring new information and generate new questions for you.
- Reinterview your two favorites and negotiate the best price
- A lot of factors go into a proper air conditioning system replacement, so make sure you get all of the facts through several interviews before hiring residential air conditioning services.
- This Process will guarantee you to get the best deal!
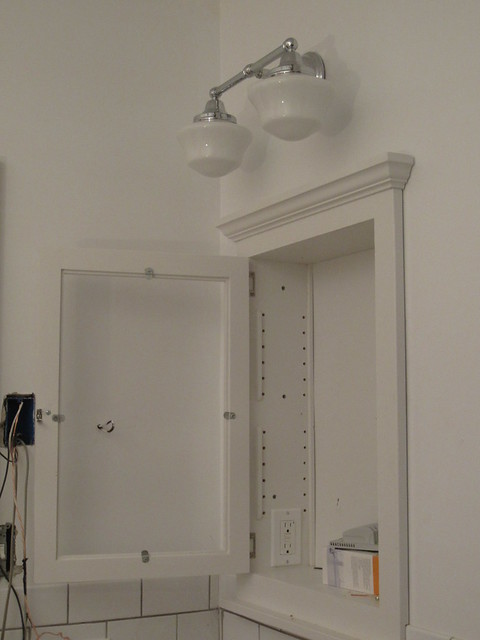
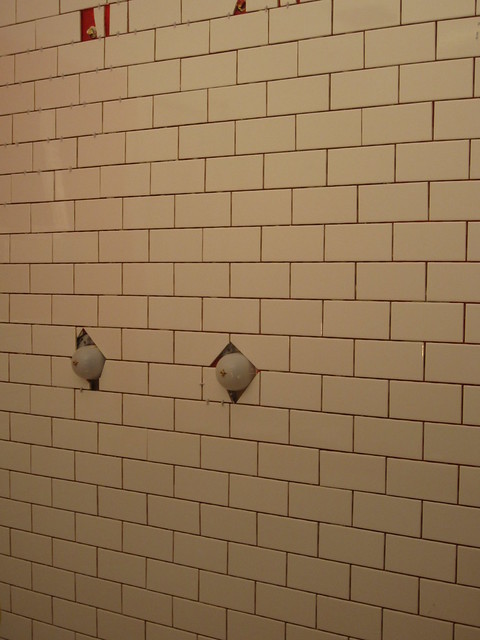
Stefan also installed the medicine cabinets! We had the position all figured out but he still had to cut the holes in the drywall and cut the holes in the studs and the boxes themselves so that I could have these handy tooth-brush charging outlets in my medicine cabinets!
Here is Stefan preparing the Right cabinet

and here is the final product with the light above. I love those lights!
I haven’t tossed the mirrors in either but it’s still under construction and the fewer times I have to clean those mirrors in my life, the better!
There’s still a bit of electric to do and a lot of cleaning but other than that, we’re waiting on tile. I’d like to get the tile done before the sinks go in since the sink area is my workshop for tiling but I’ve got to keep Stefan busy and he’s itching to get those sinks in!
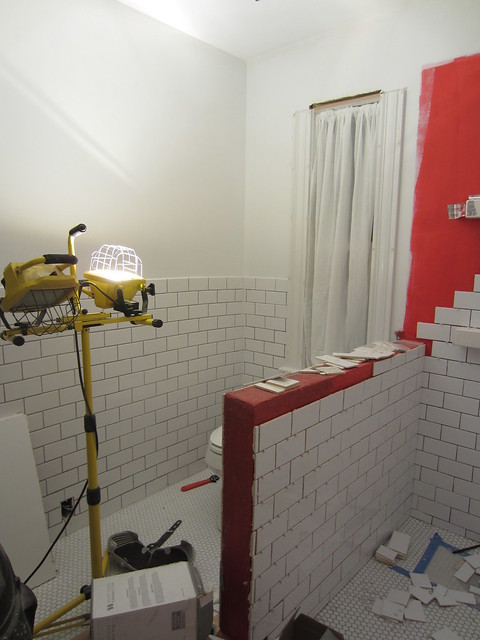
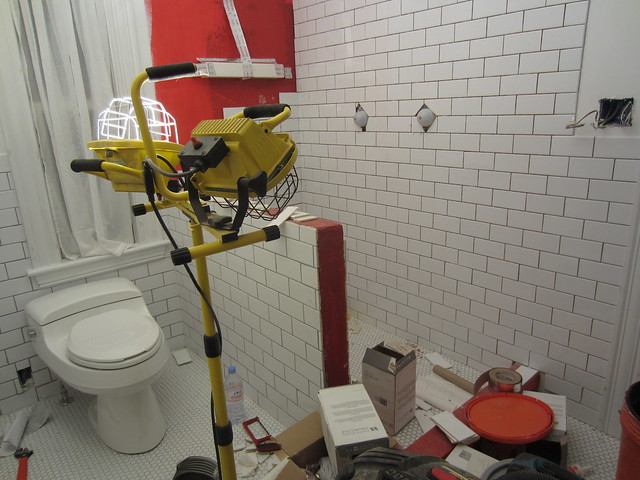
Just a few more pictures to give you a sense of how much tiling I’ve done this past month.
SO MUCH TILE! I’m excited to be done with it and then I remember I’m doing white subway on the backsplash too, I definitely need to visit the bathroom showroom again! Luckily that will be a relatively quick job.
Sarah
Patching the Hardwood Floor
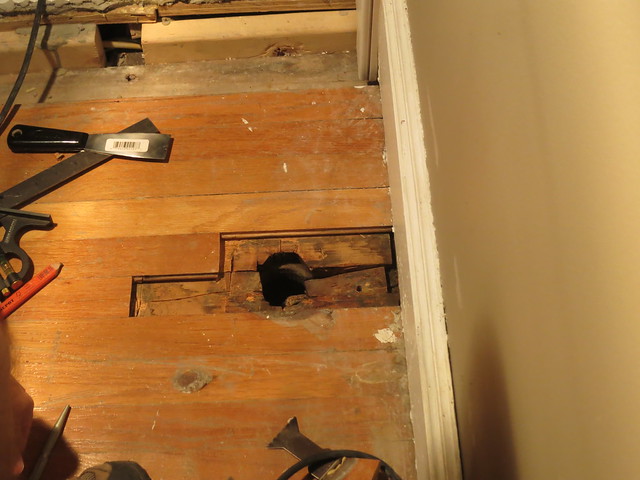
We had the hardwood guy, David, coming in the morning so one night last week we cleaned out the Bedroom and the next night Stefan patched the floor where the radiator pipes had been. First he cut away the damaged wood where the pipe had been. Notice how he staggered the cuts since individual rows of hardwood shouldn’t end at the same spot. For the kitchen we requested a great epoxy flooring service from Diamond Coating Epoxy Flooring Hamilton, take a look at the photo below.

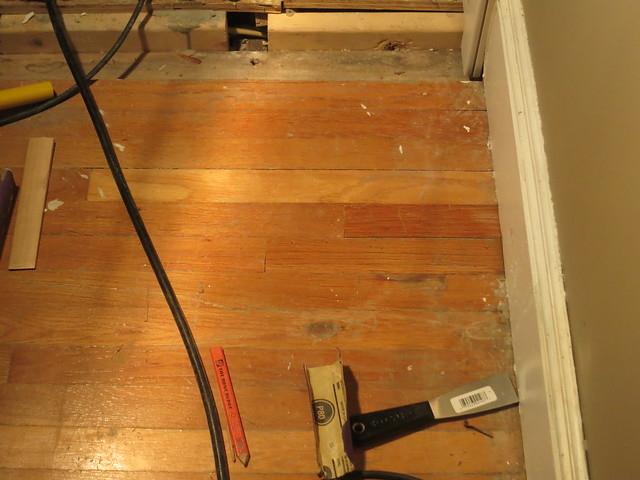
Then he cut pieces from our scrap flooring pile, trimmed off the lip and slid them right into place.
A couple taps from the pneumatic nailer and Ta-Da!
It looks great now but wait until we get hardwood refinishing services, I’m pretty sure out floors will look amazing!
Sarah
-
Yep, Stefan’s comment sounds more like it. Including the hour to round up all the necessary tools. But it looks good in the end.Good job as usual.
-
Hi Stefan,
You shared such a useful details about tools and easy steps about patching the hardwood floor. You have done such nice job.
-
Sanding and Poly | DIY Sarah | Craft, Decor, Art, Garden, and Dessert
[…] We mentioned we were having floors done when we patched the radiator holes in they bedroom. […]
Trackbacks & Pingbacks
Tiling the Bathroom Walls
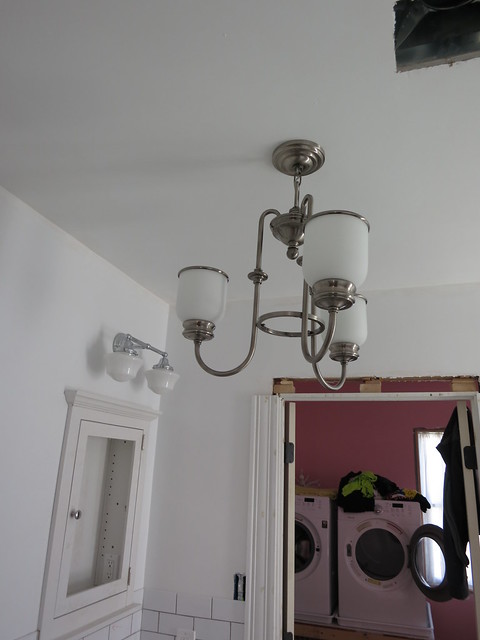
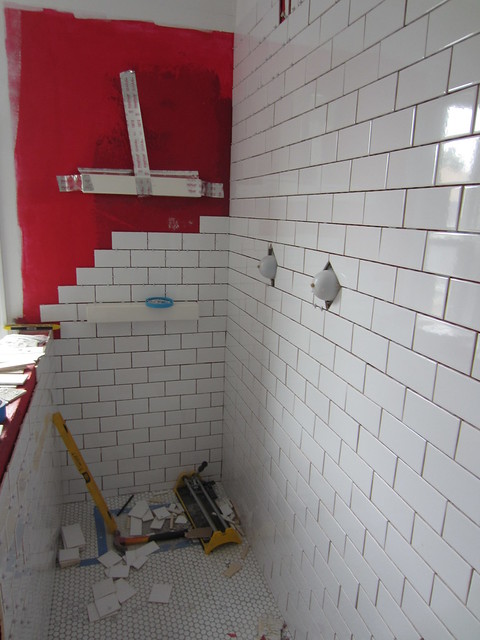
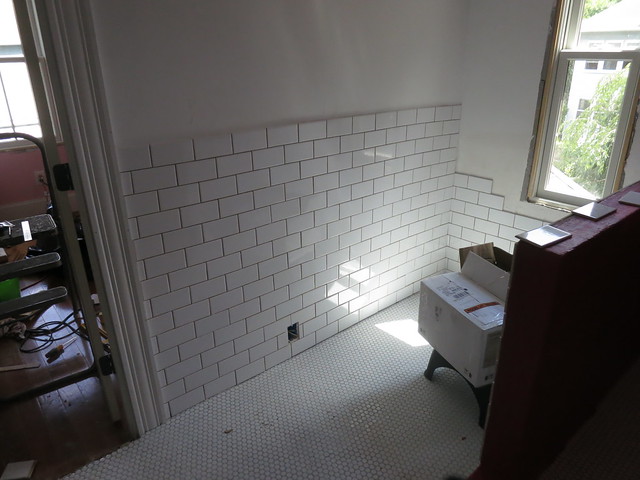
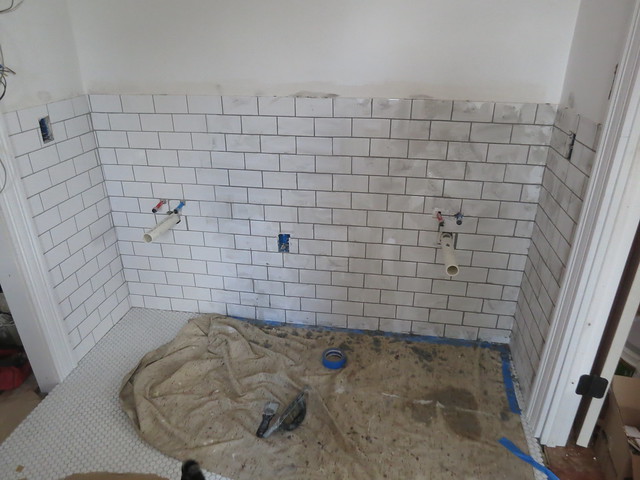
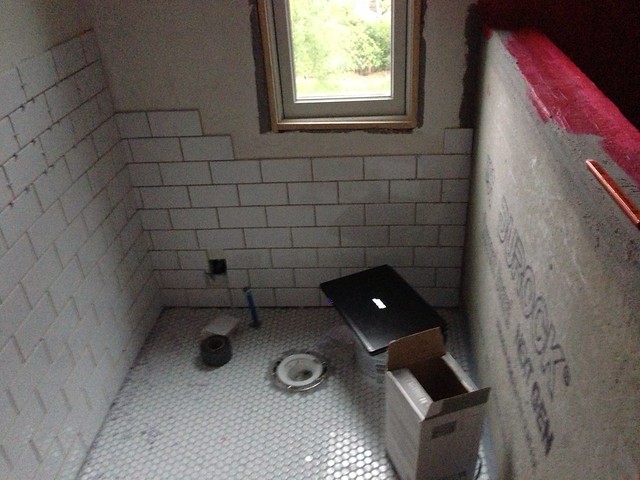
Yesterday I told you about the new bathroom doors. Â The door and trim had to be installed before I could finish laying the tile in the bathroom. Â Well, this week, with professional contractors help, I finished the Ceramic tile installation
And grouted it!
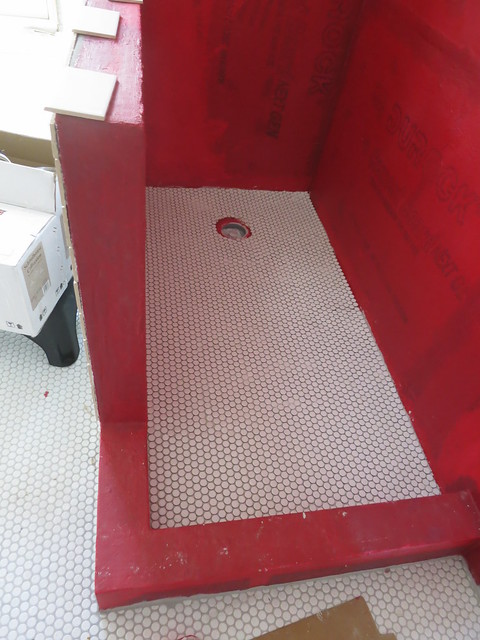
AND tiled and grouted the bathroom floor!
I’m still waiting on some window trim before I can finish up the wall behind the toilet.
But while I’m waiting, I have the whole shower to do. It’ll be a big effort to get that finished up but once it’s done, I can have someone out to measure for a shower enclosure. We’re getting so close to having a real bathroom! Eeek!
Sarah
-
It looks super. What an accomplishment. The end is in site.



Stefan Wolpert (@wolps)
8/12/2013 | 5:52 pm Permalink
You make it sound so easy! Left out a few steps 😛
1. Remove cast iron pipes with gigantic pipe wrench and 5′ long steel cheater pipe.
—-> Pipe wrench does not have enough grip for the one super-tight, corroded iron pipe. Cut through pipe length-wise with long sawzall blade to loosen threads.
2. Use Fein tool to cut floor boards length-wise to release tongue and grooves from the floor boards staying behind.
3. Carefully cut right angle edges into floor. I made the cut at an angle to the end of the board, so it has a coped-style edge – sand away the edge to make perfectly square.
4. Shim subfloor so patch boards are supported.
5. Patch boards are too wide (boards varied in width). Rip on table saw.
6. Remove bottom edge (on table saw) of patching board groove, so that you can insert the tongue, and set the board in.
—> Sand non-showing edge of board round so that the patch board can rotate into the opening.
Patching the floor all-in-all didn’t take too long. The right tools really helped:
– Fein Multimaster
– Mitre saw
– Table saw
– Pneumatic finish nailer (and of course an air compressor)
– Scrapers/Screwdrivers to remove old finish and dirt from tongue and grooves
– Pry bars
– Combination square
– Nail sets and hammer
– Shop Vac to vacuum up all the debris to get the boards to sit flat
There were probably other tools I used too. Any project seems to require tools from all around the house (and often takes a long time to find them all).