The Vent Hood is in!
Yay, the big hole in the cabinets is gone!
To install the hood liner and the actual vent fan, we first tacked up some painted MDF so that the sides of the cabinets would be white.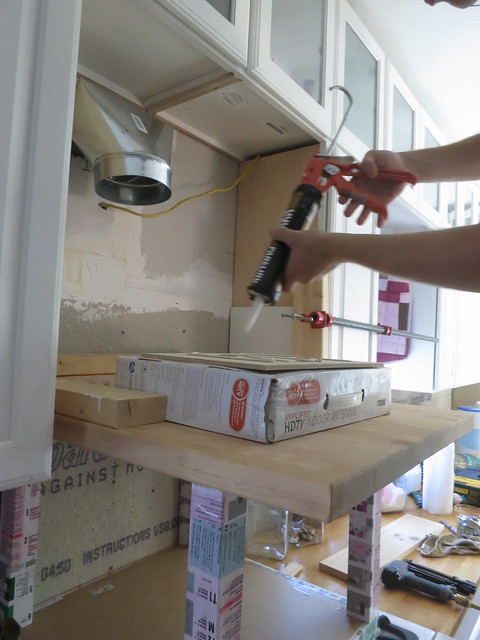
We used paneling adhesive and pin nails. In the picture you can see we have an ikea Lack table and some scrap wood and boxes set up. We used those to hold up the heavy fan and vent liner while we put it in place. After bolting in the guts, it was time for the fun part, I was very scared, I knew I should have hired the remodelers in elmhurst il in the first place.
We tossed up the wood vent cover and tightened it up. We pre-drilled holes through the sides of the adjoining cabinets and used screws to tighten everything up. It made a huge difference in how tight the seams were. What we wonder is if that modification neds to be updated on the house blueprints or actually What Information is Included in House Blueprints?
You can see the gap here as Stefan pre-drills the hole.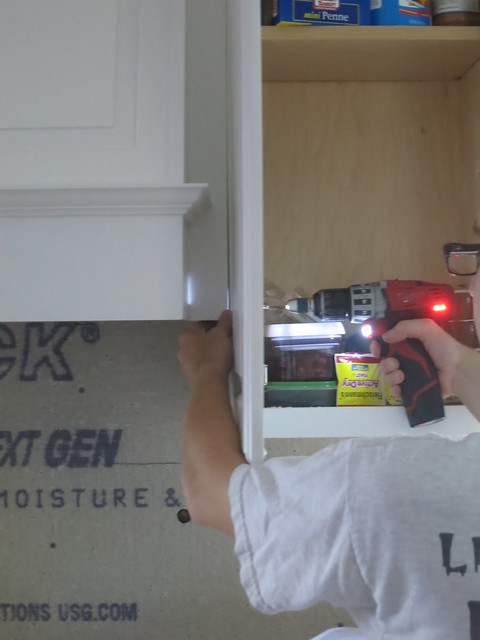
And after the screw goes in to pull everything together,
The seam is nearly invisible.
I’m so excited to finally have a vent hood.
Here’s the list for the kitchen:
- Finish installing countertop (behind stove)
- Seal Countertops
- Under-counter outlets
- Under-counter lighting
- Have the vinyl windows sacramento ca Company install final window.
- Window Trim
- Backsplash
- Plate rack
- Paint
- Finish flooring install
- Install exterior door
- Plan out microwave cabinet and install
- Stairs re-do
There’s plenty more work to do but it’s exciting to knock things off the list.
Sarah
Super fun $1 Kitchen Update
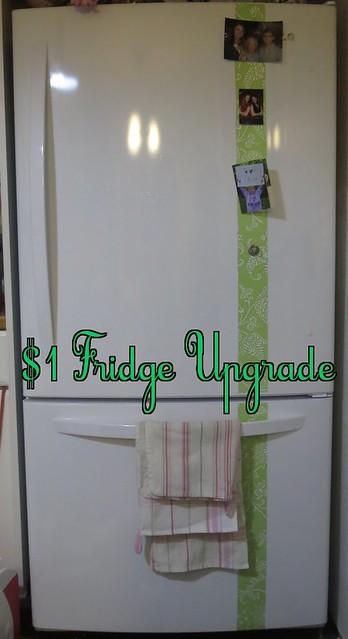
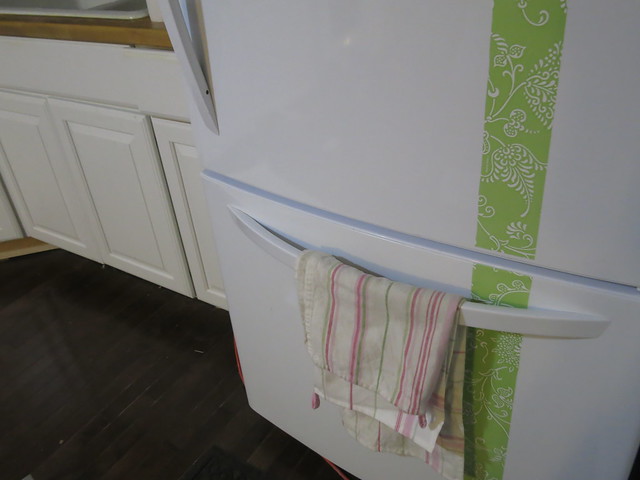
I picked up a roll of Green contact paper at Dollar Tree a few weeks ago. I was cleaning up and decided to go ahead and run with this project. It took just a couple minutes to cut a strip off the roll and line it up nice and strait on the fridge. I just eye-balled it to make it look even.
I contemplated pulling down all the pictures on the fridge but that just isn’t me. I like to see them every day so I went ahead and just lined them up on the stripe.
For Less than 5 min and less than a full roll of $1 contact paper, I’ve got myself a cute fridge. The best part is that the contact paper is completely removable. I can change it up whenever the mood strikes. I’m thinking perhaps I should invest in some more “designer” contact paper on the next go around. Perhaps some pink Chevron is in order.
I love the touch of trendy that it adds to the space. It was also so much fun to do something purely creative and not super functional. I’ve got plenty of that to do!
I think this would also be a great way to anchor a Christmas card display on the fridge. It may also be a great way to allow for some flair on a non-magnetic Stainless Steal Fridge. So many options!
Let me know if you hear of any good contact paper suppliers!
What have you done with a Dollar Tree find? Let me know all about your $1 decor in the comments below!
Sarah
Clean Kitchen
I walked down the stairs Tuesday morning and I could hear angels singing.  The kitchen is CLEAN!  It’s amazing.  We pulled up the ram board, mopped the floor, and this amazing commercial property maintenance company cleaned the counters, took all the tools to the basement.  I can’t believe how much happier I am that the kitchen is clean.
We’re in the troughs of cooking for company so it’s not all done up cute but there isn’t a 1/4 inch of dust on the floor!
I’m itching to paint it now. Â That will really make it look like a real kitchen so I decided to visit https://cleaningease.com/pages/house-cleaning-eastern-suburbs. Â We also need to finish the last couple strips of floor. Â Stefan has also ordered the plug-molds for the under-counter outlets and we have the under-counter lights.
Here’s the list for short-term projects.
- Finish Counters
- 3rd window replacement
- Vent hood
- Under Cabinet Outlets
- Under Cabinet Lights
- Backsplash
- Paint
- Flooring
- 2nd Island Light
Longer Term projects:
- Moldings
- Under-cabinet moldings
- Re-build Stairs
- Patio Door
We’re getting there!
Sarah
-
It looks so good. There will be many happy memories made in that kitchen.
Kitchen Lights
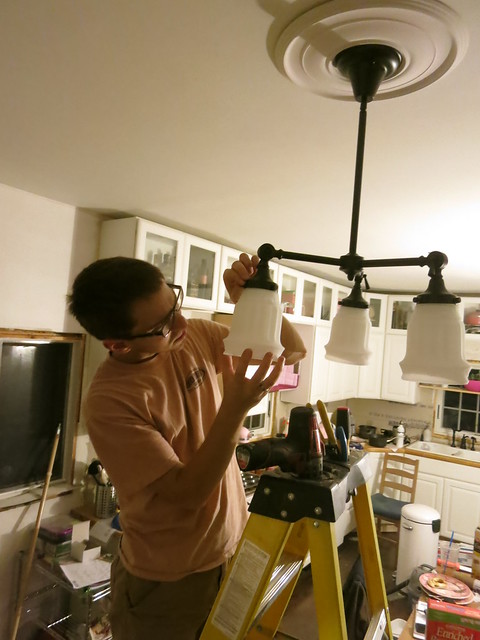
We were up until nearly midnight on Sunday night getting these lights installed. Â I think we’re going to be playing with 3 and 4 way switches for a long long time.
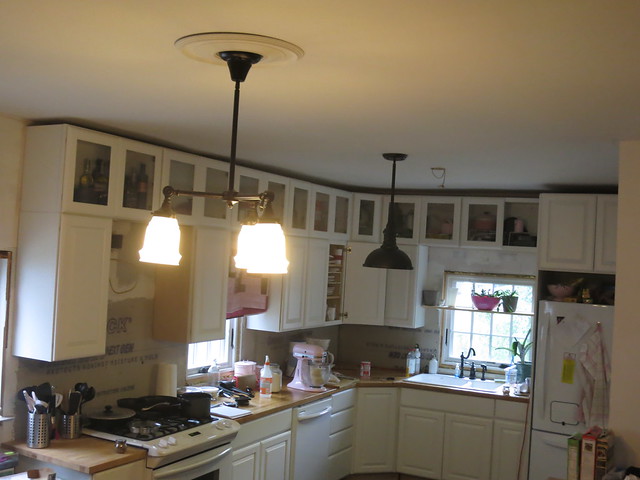
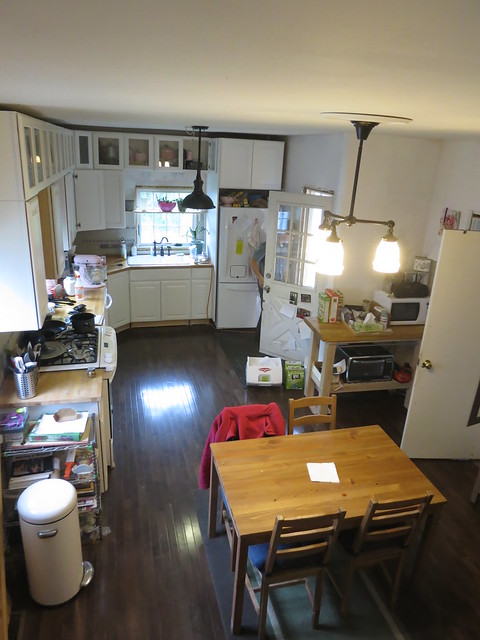
Over the dining table area we went with this fixture which I LOVE.
We added the ceiling medallion to help cover the ceiling patch but it looks so good I’m glad we did it.
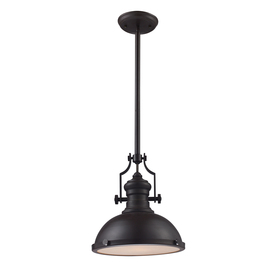
On the other side of the kitchen, we’re planning on 2 of these fixtures from Lowes.
Thanks to the kitchen remodeling services rochester ny, we’ve got one installed but the other is going to take a little more work.
The best part – All the switches work! The light over the kitchen table is a 4-way with 3 switches: one next to the back door, one next to the door from the hall, and one on the stairway. It’s awesome!
We also finally have great ac and heating system around in the kitchen too. It was really cold to do something when it didn’t had systems in the winter times. Thankfully we found some great local hvac companies that installed the systems.
Now we just need to get the kitchen cleaned up. It’s gotten a bit out of hand! and then it’s the final light in the middle of the kitchen and the undercounter lights and outlets. It’s finally shaping up to be a real kitchen!
Layers of Light
Sarah
-
I love the kitchen light fixture
-
Miami Based Retailer DecoraUSA Goes Online for Customers | Home Remodeling Philadelphia
[…] Kitchen Lights | DIY Sarah | Craft, Decor, Art, Garden, and Dessert […]
-
The Christchurch salon | Home Remodeling Philadelphia
[…] Kitchen Lights | DIY Sarah | Craft, Decor, Art, Garden, and Dessert […]






sheila zimmermann
7/25/2013 | 2:39 pm Permalink
I love this idea. And very cute contact paper too.