Kitchen Outlets
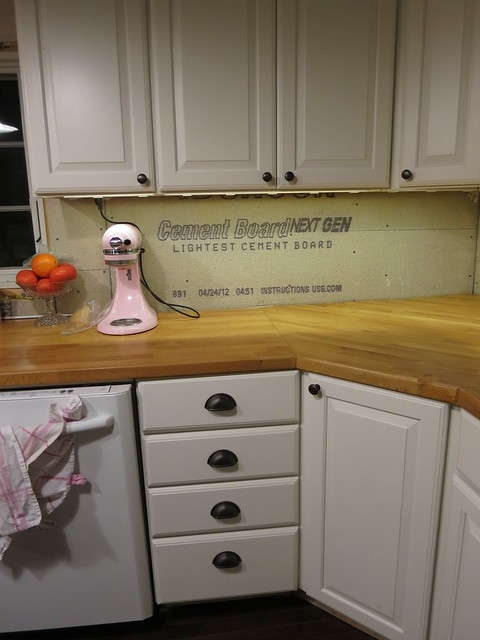
There are no more extension cords in the kitchen! I have actual powered outlets on my counters! We used plug-mold to but strips of outlets on the under-side of the cabinets. That way, I have tons of outlets without the outlets causing a visual break in the backslash, this was a great idea given by the kitchen remodeling near scarsdale ny company.
We have 3 outlets in an L shape under the two cabinets on either side of the stove.
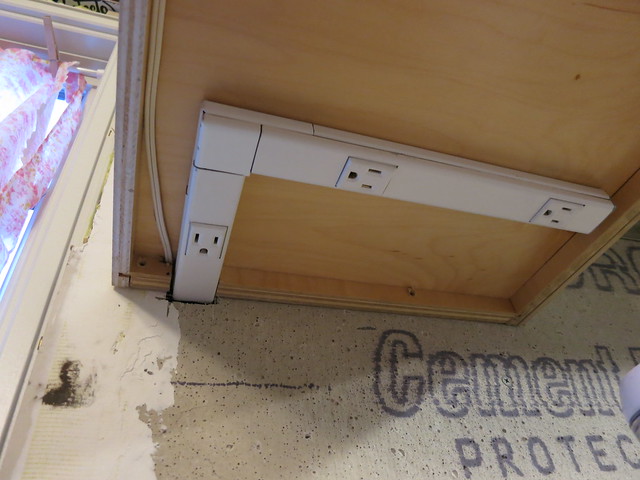
And a large string of them in the corner.
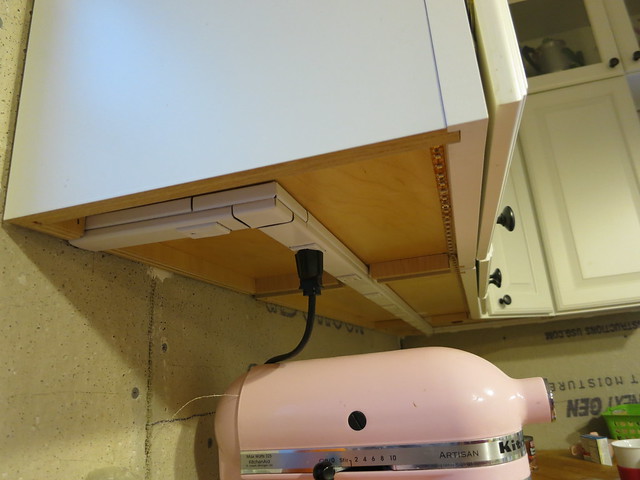
They were a bear to install since the metal had to be cut with a hack-saw and the whole thing had to be assembled before we could put them up. To attach the plug-mold to the cabinets, we used VHB tape. It’s super strong and sticky and has done a great job holding everything up.
Wholesale G Series Cabinets in tampa fl came in to help us during this process, this is the clear kind but there are a variety of widths and some black ones as well that are sold in more industrial settings. Stefan has used them at work for various things and after using this product, I’m a convert and have no doubt we’ll be using it again.
Sarah
Under-Cabinet Lighting
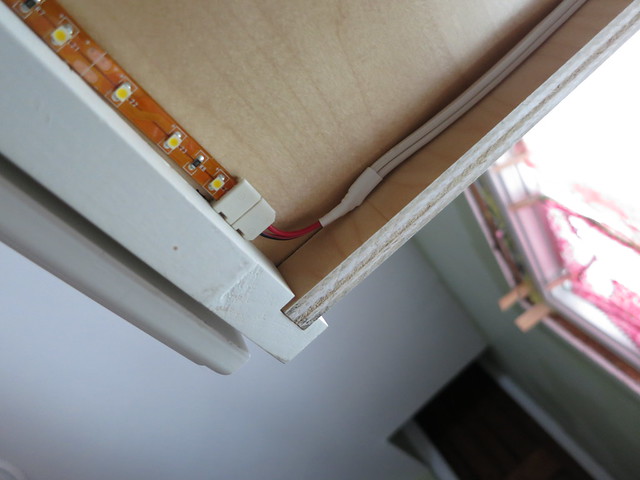
We have installed under-cabinet lights and they are AWESOME! We used these warm white LED ribbons and the installed quickly and easily.
The tape has an adhesive back to it was just a matter of cutting the ribbon at the appropriate spot, using these handy clips to attach to it, and connecting the wire from these clips to some lamp cord we strung to all the sections of cabinets. We soldered and heat-shrink wrapped the cord connection but Stefan and I are huge nerds and there are plenty of simpler ways to get everything wired together.
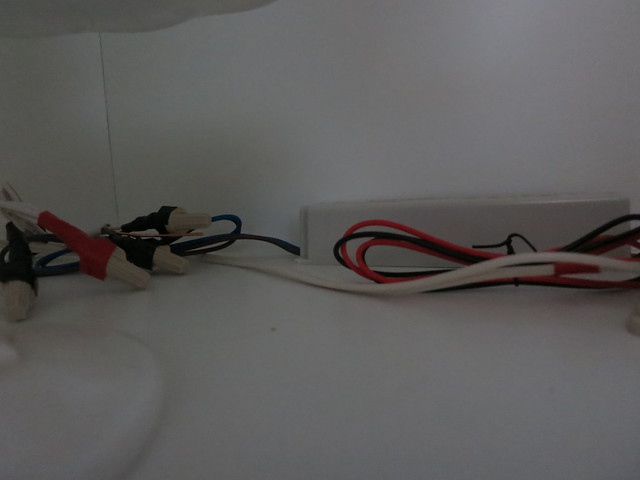
The lamp cord was strung back to the back of the top corner cabinet where we wired everything together and installed the transformer. We also used a dimmer thinking we would need to adjust the lights from https://www.apollolighting.com/vimar/ but the brightest setting was appropriate so the dimmer was not needed.
This is the transformer we used.
We wired the transformer power back to a switch and the result is a beautiful even under-counter glow. I love it! The lights were so easy to install, we’re thinking of running a string through the back of the upper cabinets tanks to this range of mirrors we found. Since they are LED they don’t let off all the heat that the typical halogen under-cabient lights do so they are perfect for in-cabinet use as well.
They really are a neat product. I highly recommend!
Sarah
-
Wow. I love those. I’m thinking- where cold we use those.
Great pictures showing the details.
Back Door Upgrade
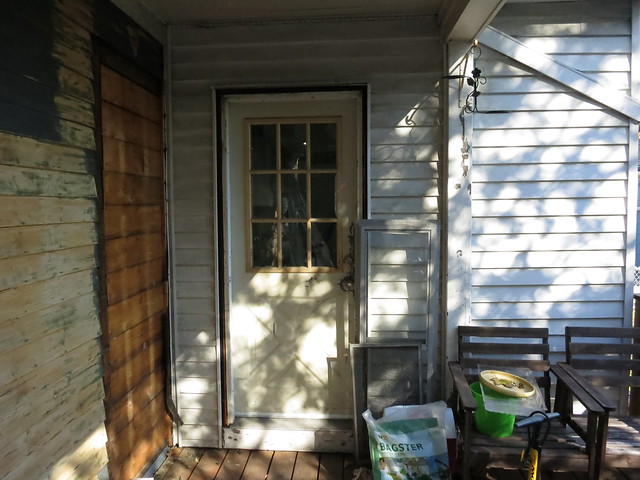
The door from the kitchen to the deck was not very nice. It was serviceable but it was dented and didn’t let in nearly enough light not to mention Vector couldn’t see out the window unless you held him.
The door also opened inward which got in the way of the fridge door. We decided to do something bold and replace it with an out-swing door which is rather unusual, we had some help from a great company, they are the among the best janesville contcrete contractors in the region.. We made sure to know how to properly install it. Since the door is in a protected area on the deck we didn’t have to worry about snow blocking the door and we don’t have a huge need for screen doors where we are, so an outswing door would work for us.
Since we were replacing the door using this guide from Door Repair Sacramento we figured we’d put in one big enough to get a fridge in and out of the house… So we upgraded from a 30″ wide door to a 36″ wide door and since we were opening the wall up anyways, we might as well add a side-light. So goes projects in this family…one thing leads to another. Oh, and to top it all off, Vector was extremely sick the entire weekend of this door project and we had tickets to see Charles Dutoit conduct the Boston Symphony Orchestra.
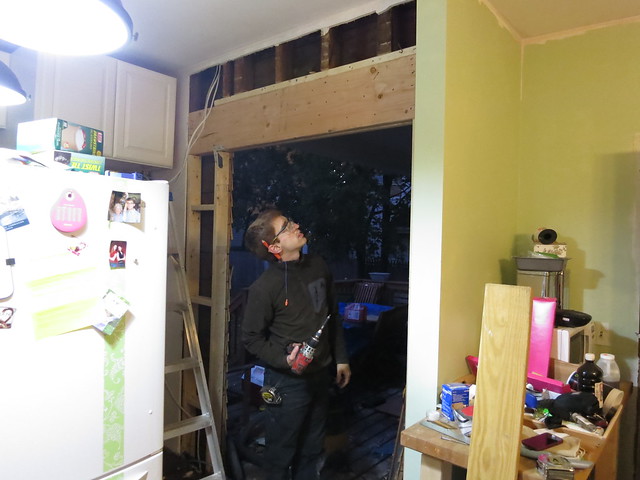
So, Saturday we got to work. First things first, find a slip clutch at a local hardware store and start to drill some test holes to figure out where the studs are and use them to determine the final location of the door, there were some aluminum pieces that would get damaged as soon as we would take the door out.
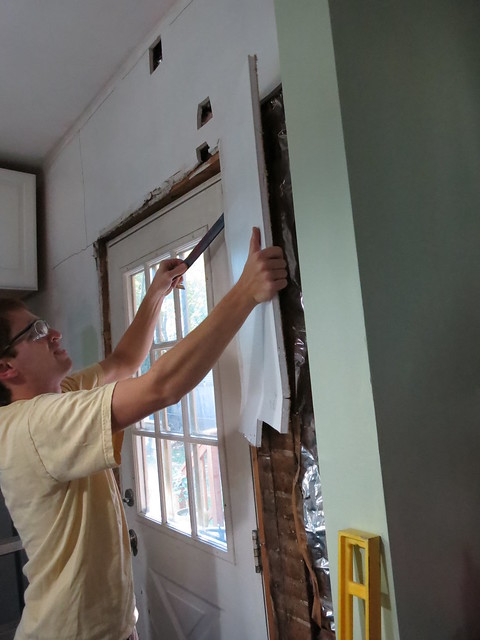
Then cut away the drywall (thank goodness it was drywall and not plaster and lath…I love drywall soo much!). We used the Roto-Zip and a drywall bit to cut it into manageable size pieces.
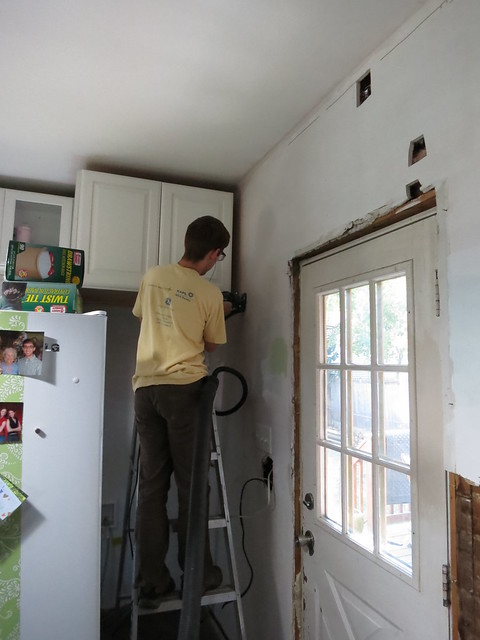
Seriously, best $100 we spent on this house project. Awesome for drywall, great for cutting small holes in plaster and lath without vibrating the whole wall apart. Storefront Door Installation in phoenix az was the great comapny that came to install our door. If you intend on adding outlets to a plaster and lath house, you must buy one of these.
Yeah we were thinking about making the door automatic but that would be a lot of money, had we had more we would because theyre awesome and fun for the kids ( us too ) haha! I would have got them from hortonautomatics.ca/burlington/ since they have the best deals.
But, for this project, we just used it to cut drywall and pulled the drywall off a piece at a time.
After all that, it was time to head to Symphony Hall. We got dressed up, took a picture in our green-swatch ridden kitchen, and headed downtown.
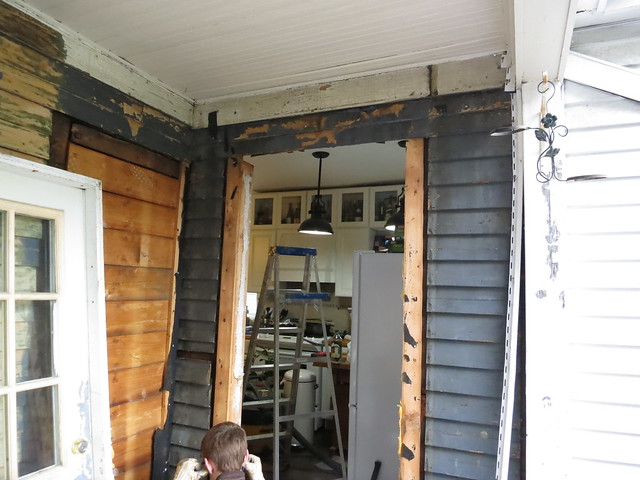
The next day, we pulled off the aluminum siding on the outside of the house and pulled the old door out frame, threshold, and all. And it got cold…real cold, thankfully the andersen replacement doors in cincinnati oh company was there to help us out.
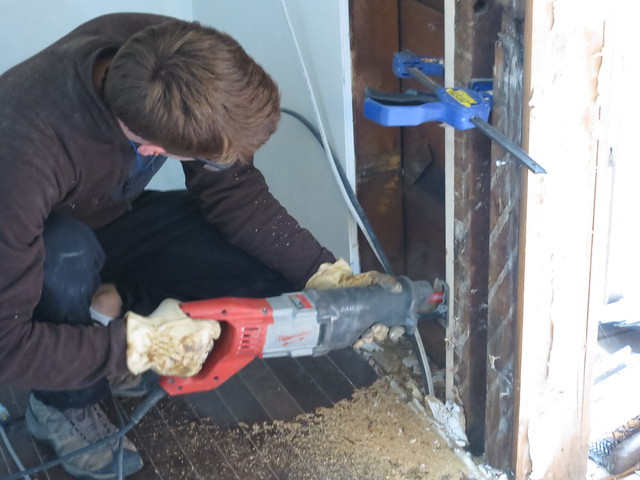
We cut the opening larger by shimming out from the existing beams so that we had a line to follow with the Sawzall. Another $100 well spent on that sawzall.
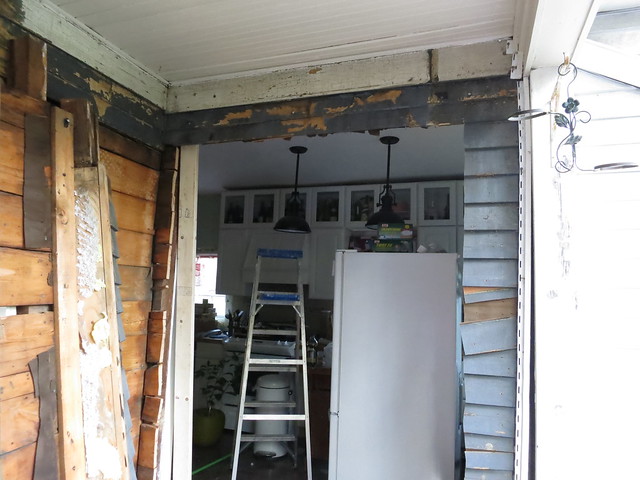
Now there was an even bigger hole in the side of my kitchen.
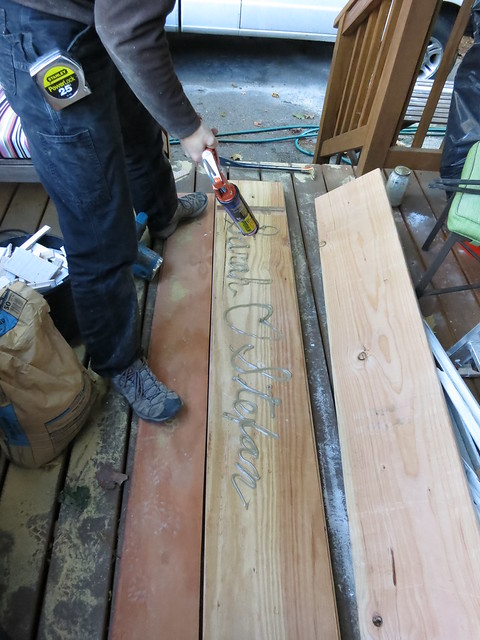
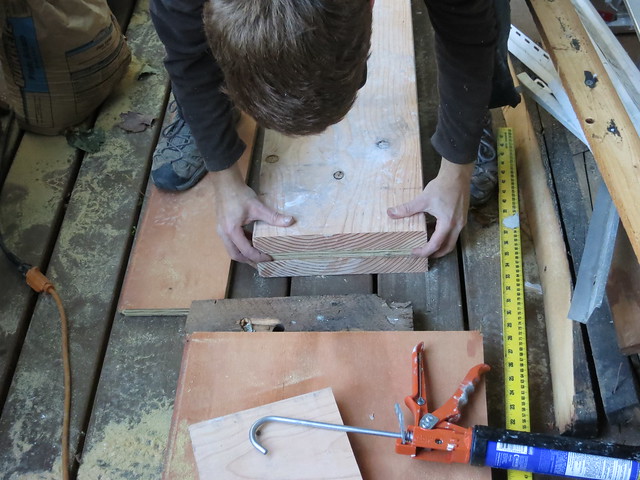
For the header of the new door, we used a sandwich of 2x12s and plywood. Stefan wrote our names in construction adhesive. My kind of romance!
With much heaving, we managed to get the header in place and the vertical header supports nailed in. A framing nailer is key for this job.
You can see it’s starting to get darker and colder. This was daylight savings weekend so by 5, it’s dusk and by 6 it’s dark and of course, it was cold, damp, and windy on Sunday and beautiful and sunny on Saturday.
With my friend from https://www.keyslocksla.com/, we managed to get the door in and level before I froze to death and we got it shimmed in, nailed, and foamed up.
We’re still waiting on the lockset to arrive. We picked out this beautiful set from House of Antique Hardware.
It was pricey but the door ended up costing less than I had budgeted so we went ahead and sprung for it.
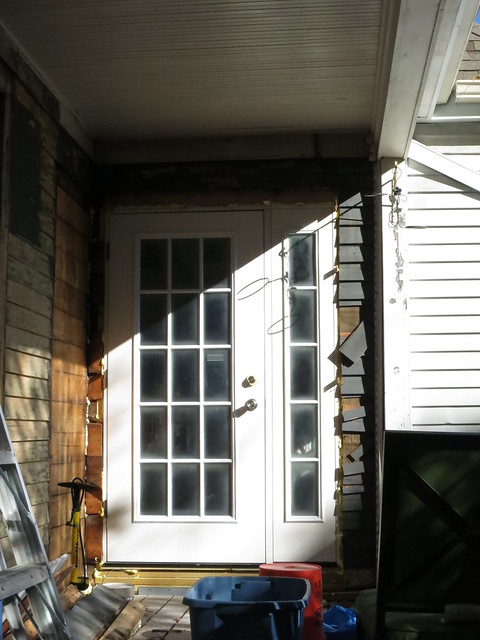
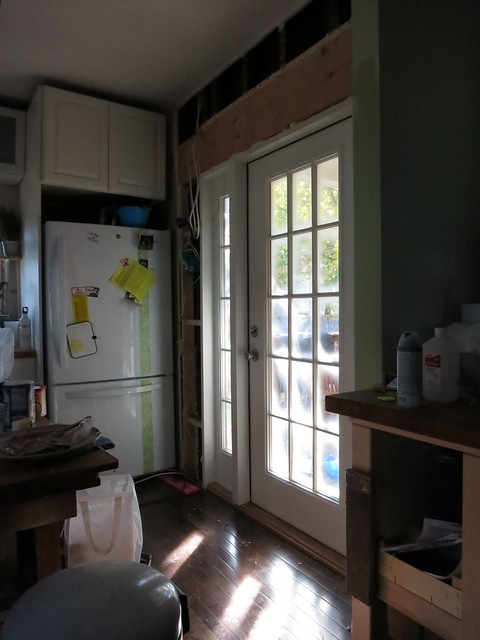
The door looks great and I’m so pleased with how it turned out.
Sarah
Reference: Access Locksmiths homepage.
-
Love the door and how much light comes in. You will be glad you did this project. And it should be more insulated as well.
Painting the Kitchen Green
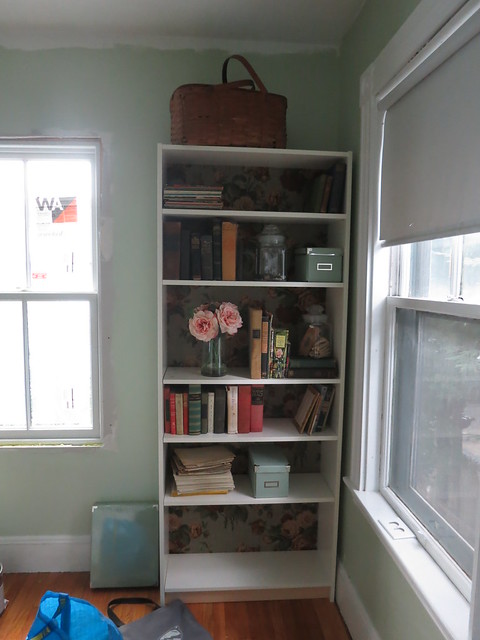
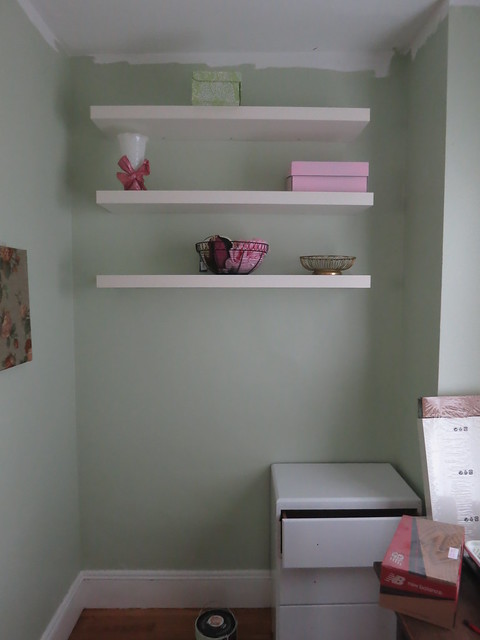
So, I painted the kitchen the same color as the bedroom office nook, this is my idea of a small kitchen remodeling project. Here it is in the office nook:
It looks great. It’s a nice light, bright, grown-up green. But in the Kitchen…
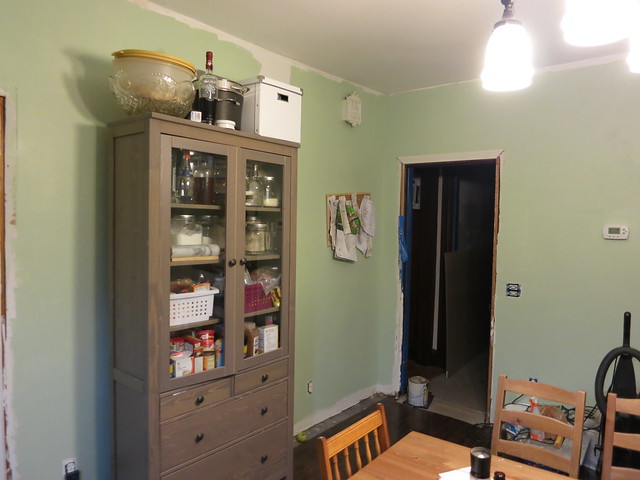
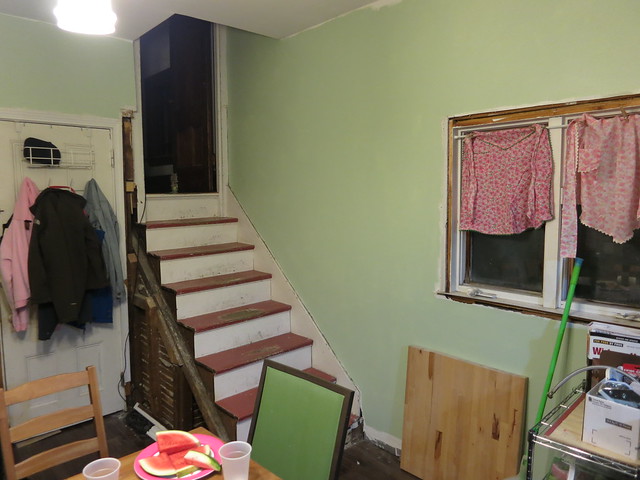
It’s just too blue. It’s decidedly a mint color instead of a green. I’m going for a vintagey green but not a turquoise.
What do you think? Should I plan on darkening it a bit? Go a little greener and less blue? Both darker and greener?
Sarah
-
There is just much more light in that bigger space. I would go darker and a green with more brown in it. Make it richer with more pigment. It will really warm up the space. With all the white it is a really cool space. I think a warm tone on the walls will blend it with the rich dark wood tones of the other rooms on the main floor while still giving it the bright fresh kitchen feel you want.






Todd
2/16/2014 | 2:25 am Permalink
Hi. I haven’ seen plug mold outlets less than 36″. How did you find or make a shorter one?
sarahmzim
3/14/2014 | 9:14 am Permalink
We cut them to length. The installation instructions from Legrand (the people that make plugmold) are available here. There are also tons of forums on cutting plugmold to length.
Todd
3/14/2014 | 10:19 am Permalink
Awesome! Thanks!