Shoe Storage in the Closet
I went back and forth trying to figure out the best and cheapest way to add shoe storage to the closet.
To refresh your memory, this post gives a good overview of the closet.
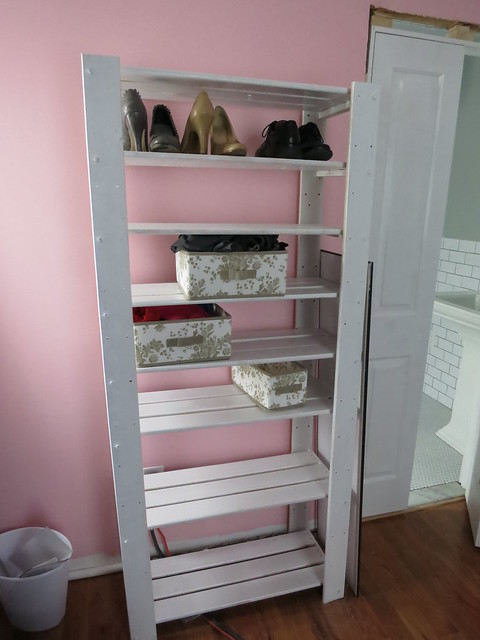
To make the shoe shelf, I started with some ikea shelves. The cheap Gorm series. You should check out these Shelving Structures for other great options.
They are now $29 but when I bought them last year, they were $19 and the additional shelves were on super discount 2 for $3. I ended up using 8 shelves total for a total cost of $26. And if you need more options Louisiana Custom Closets creates beautiful custom closets, pantries, laundry rooms, and garage storage solutions, which you can keep safe by installing good garage doors, with a garage door panels install and repair service online. Find so if you want to create a good closet, you can find them on the web at https://www.louisianacustomclosets.com/
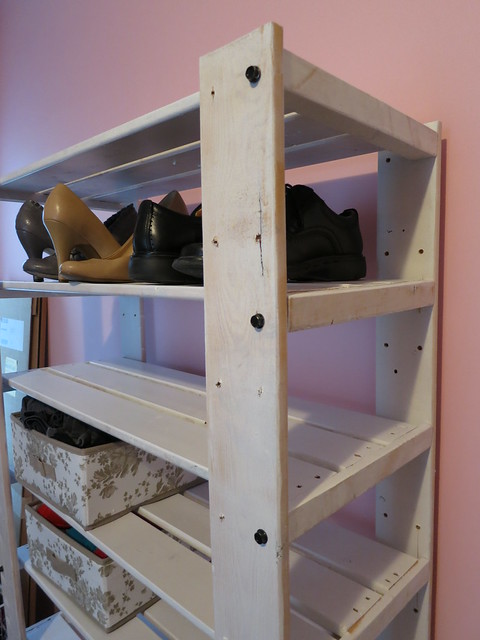
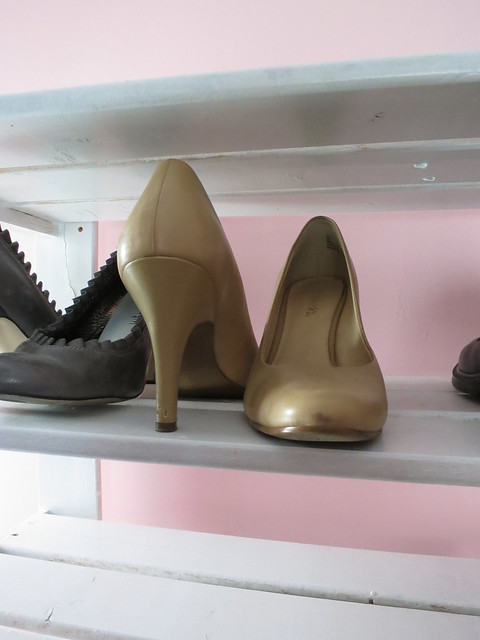
I primed and painted all the shelves with my trim paint. To assemble the shelves at the height I wanted, I had to have Hagstrom Drilling help me drill the holes. I ended up with a shelf every one and a half hole spaces which was the perfect height for my heels or for a shoe box. We needed to get rid of a bunch of things but I wasn’t in the mood for throwing or giving away some of my belongings, so the easiest option for when you don’t want to give up your things and want to save space in your home is to get one of these wire shelving units for more a place to store your items.
You can see in the picture above the bolts aren’t all on the pre-drilled holes.
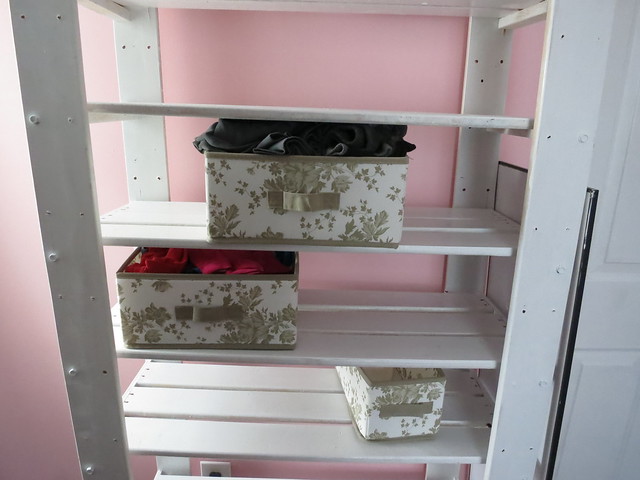
As an added bonus, these ikea half-height boxes also fit nicely.
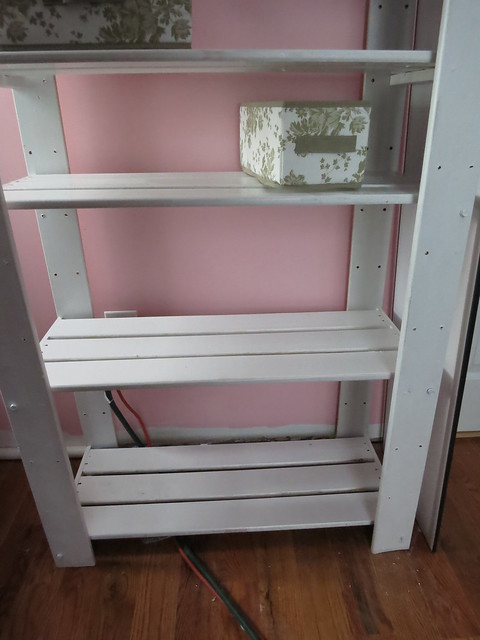
I also added some taller shelves for winter boots on the bottom, this closet design seems to be one of the best ones for me.
I ended up painting the black bolt heads white which really cleaned up the look. The Gorm shelf is definitely more utilitarian but the slatted shelves are perfect for shoes and it is the perfect depth. I think a coat of white paint dresses it up sufficiently well for the space.
Sarah
my Closet!
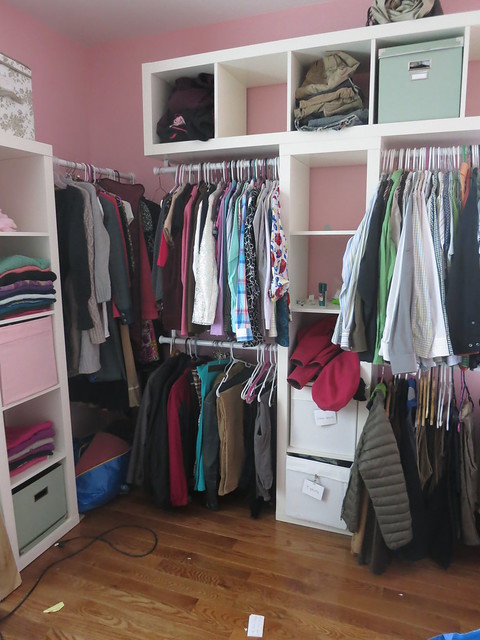
The closet is installed and filled with clothes. What an exciting day!
First we set up the “T” I told you all about in my closet design post many many months ago. The post is HERE for those of you who don’t keep all of my house plans in your head.
The gist was:
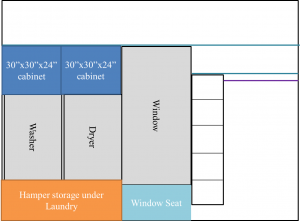
for the window wall and

for the far wall of the room.
with the basic floor-plan looking something like:

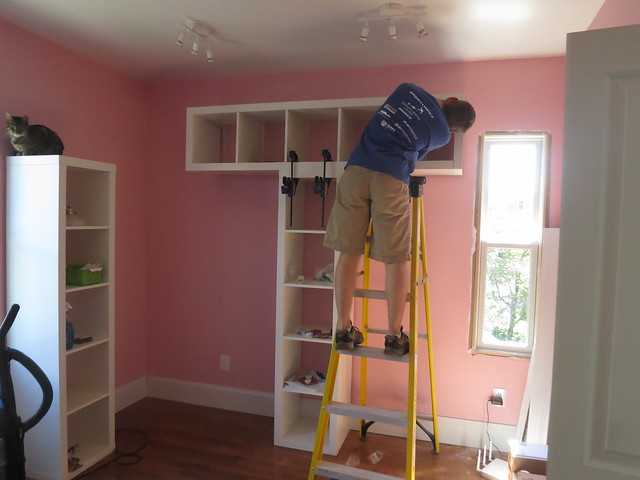
Here’s the T being installed.
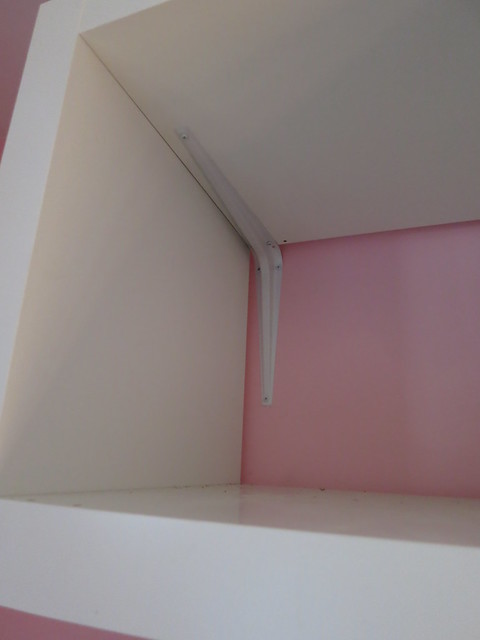
We used big brackets to attach it to the wall and connected it to the vertical unit to help hold the weight and pull all the seams nice and tight.
There is a gap around the back since the vertical unit can’t be pushed flush against the wall because of the baseboard so the vertical unit has to be there to help hold everything up though I think without this gap, you could mount one of these shelves on the wall.
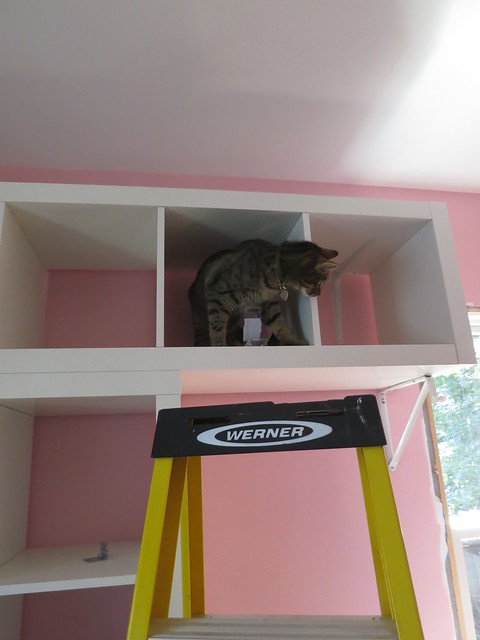
Vector was of course there to share in the excitement and make sure the job went according to plan.
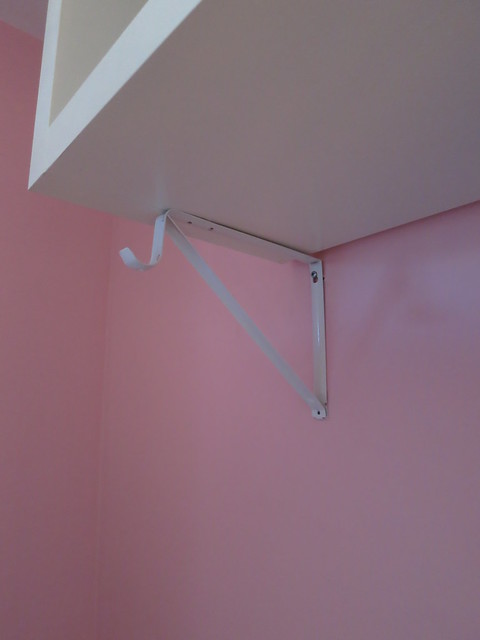
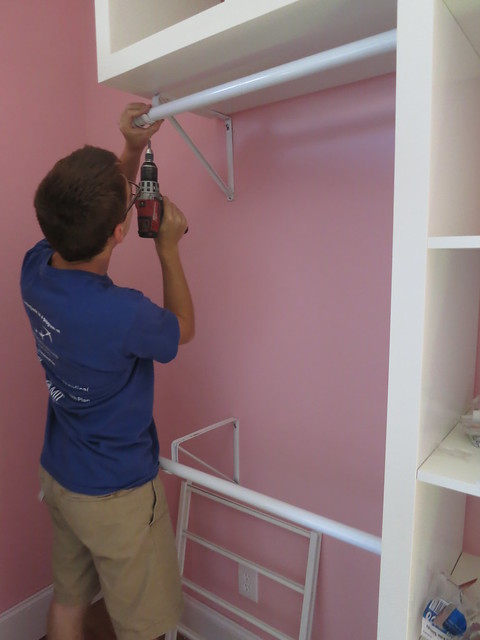
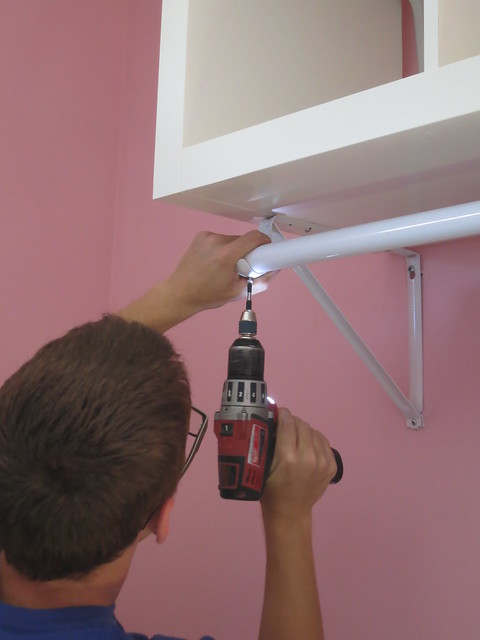
After the T was up, we installed some brackets to hold the ends of the clothes rods.
We attached the upper ones to the underside of the T just for good measure.
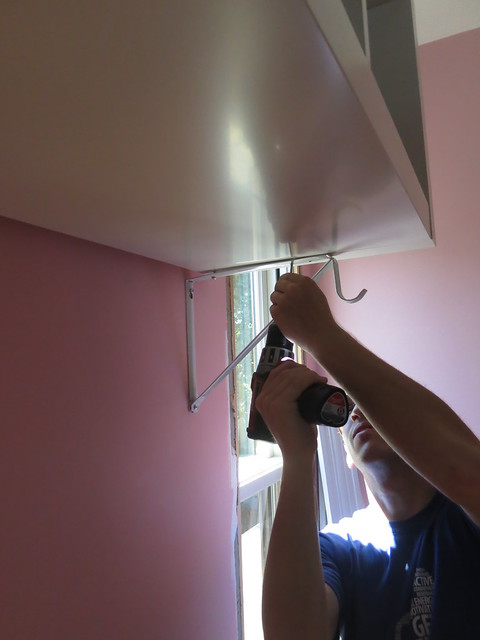
Vector again did quality control and stability testing.
Next came the rods. We cut them to length by hand with a hack saw. Note to future closet installers, don’t buy the smallest hack saw at the store and its always preferred a Custom Closet than one from the mall. That was a chore but Stefan bore it well. After cutting them to length and attaching closet-rod end-covers, we attached them to the brackets to keep them from falling out.
And then it was time to fill…
Always a project with all that molding ready to be hung!
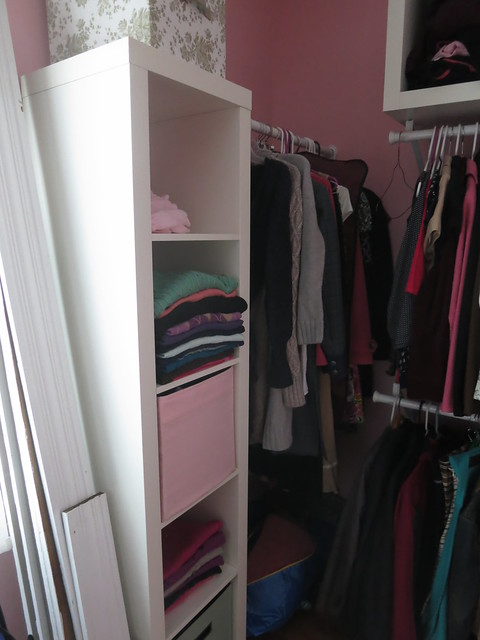
Here is the short storage.
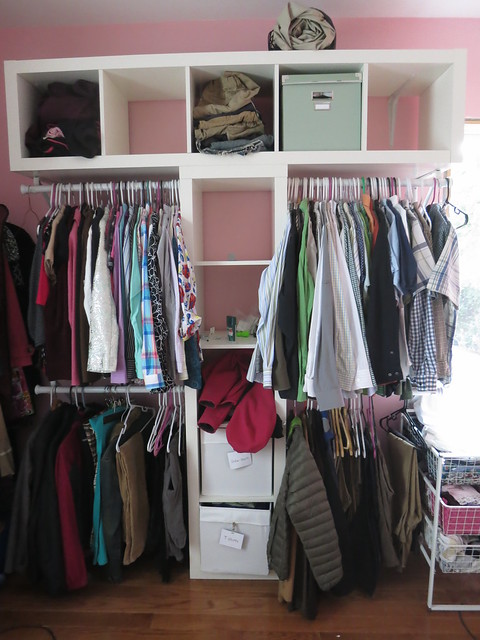
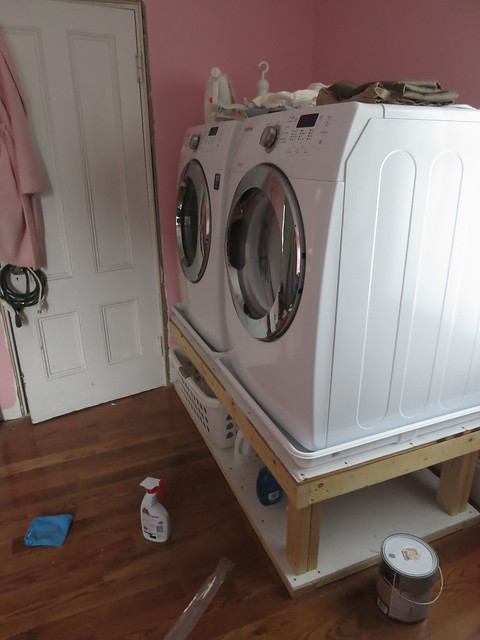
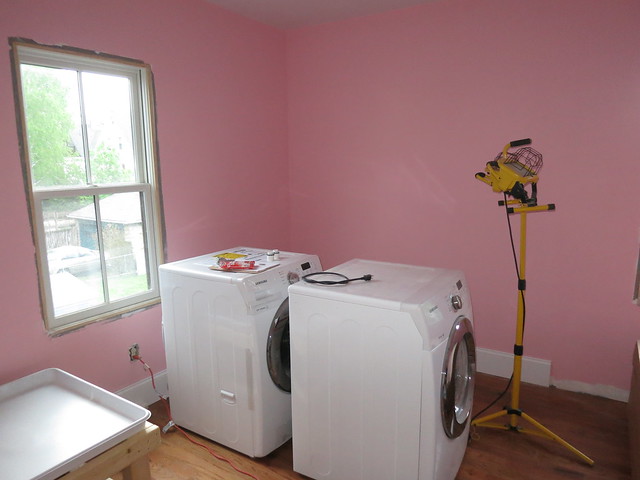
And to refresh your memory, the laundry is on the other side of this room. AND, guess what! It works! We finished the last bit of plumbing and electrical this weekend. I’ve already run a couple loads!
Vector is terrified of the laundry. Here is is in full crouching tiger position watching it intently.
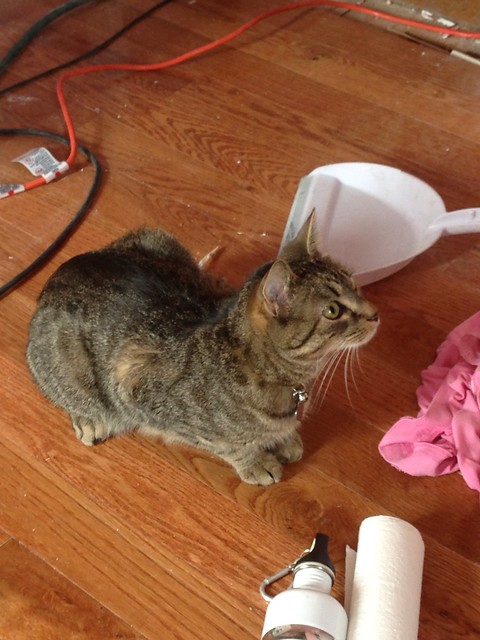
I am SOOO excited to have my closet together and so far I love my Samsung washer and dryer. It’s definitely time to do a full wardrobe overhaul to match my closet overhaul! I already have a big bag of clothes to donate and I haven’t even started the trying-on phase.
There’s still work to be done in this room including some more shelves around the top of the room, trim, baseboard, finding a new light fixture, finishing the laundry base, etc but It’s finally functional which is such a great mile-stone.
Sarah
-
Shoe Storage in the Closet | DIY Sarah | Craft, Decor, Art, Garden, and Dessert
[…] refresh your memory, this post gives a good overview of the […]
Trackbacks & Pingbacks
Doors and other news
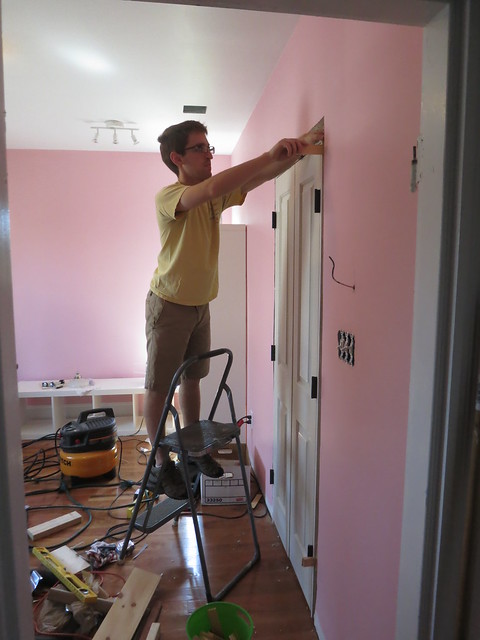
We picked up 2 Security Doors Perth last weekend. Â One is super big, super heavy, and not installed and the other was lighter, smaller, and already installed. Â Yayy door.
This is the double door from the closet into the bathroom. It looks AWESOME. It still needs to be painted but solid-core doors are great. The guy at Home Depot looked at us crazy for paying the extra $60 or whatever for solid core but we are trying to keep the laundry noise to a minimum. They also feel nicer. Trust me, andersen doors can feel nice. It’s like expensive shoes. They just feel better.
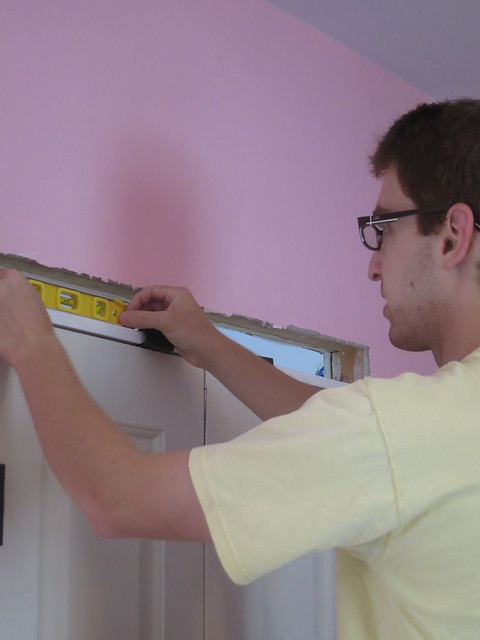
Stefan made sure the doors were dead level, as usual.
The doors haven’t been painted, the trim has only been installed on the bathroom side, and we still need a floor transition but the doors make the space feel more finished even if it’s just a step along the way.
In other news, I was laid off from work last week. Bummer but on the plus side, I’m getting so much done on the house! Besides the doors Im also installing some security smart cameras with an ai gun detection system for extra security, great investment and so recommended, there’s a few more things i want to show you but in my next post. I know I’ve been AWOL for a while but I’ve been working on developing a plan. I’ve got a draft of a resume, a draft of a cover letter, and only a vague notion of what I want to do with my life. It’s been a week of tile work and soul searching. I think I’ve decided to transition from a technical hardware engineering position to a Project/Program Management position. It’s going to be an interesting change but I’m ready for something new. If any of you blog-people know of an PM positions in Boston, let me know!
Now that you know the whole story, you can be expecting much more house activity in the near future. Already this week I’ve tiled the shower floor, finished tiling the bathroom walls except for one little spot, found the shower tower reviews for the second stage I’ve planned, and grouted the whole thing. Tomorrow I’m planning on sharing my bathroom progress so far as well as tiling the majority of the shower!
Sarah
-
Can’t wait to see pictures of all the tiling work. I love the pink closet. You will be so glad you painted it when it is full of clothes and laundry stuff.
-
Wow! You are super amazing! Lovely tile work & I adore the pink walls…Have fun on your home journey!
Painting the Closet Pink
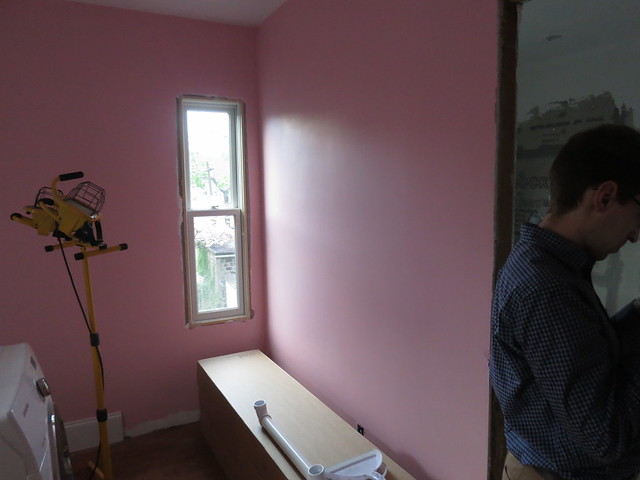
It’s PINK!
I painted it Behr Cafe Pink and I LOVE the color. It is VERY pink but there isn’t going to be much wall showing so it really needed to have some oomph. Also, it’s a closet! What fun is the world if even your closet needs to be some pseudo neutral color?
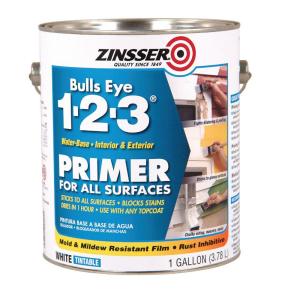
To start, my Mother and I primed the walls and ceiling. I did 2 coats on the ceiling and the primer did well enough that we didn’t really need to go over it with ceiling paint. It’s a nice, smooth, flat white. We needed to seal in the plaster that was spread over the blue-board. We used Bulls Eye latex primer.
After that dried, we put on the paint. I used the Behr Premium Plus Paint and Primer in one. I have to say, we did need 2 solid coats to get good coverage. The airbrush compressor on Amazon is a perfect solution for such purposes.
We cut in the corners with a brush and used a roller on the rest. We used the handy dandy edger to get the top edge nice and even.
The baseboards will be installed later so there was no edge on the bottom edge and all the window and door moldings are off as well so we will have to get new window installations. It made it a very quick room to paint.
What a difference!
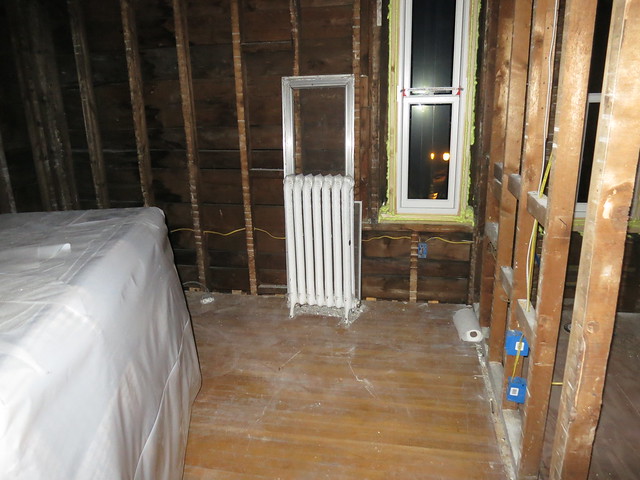
This is what that room looked like when we moved in:
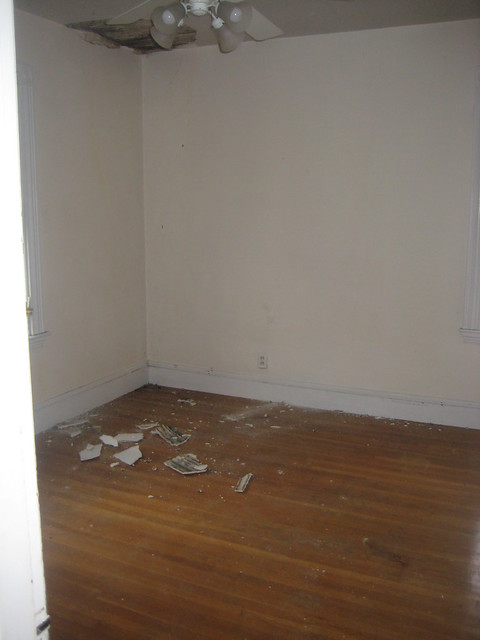
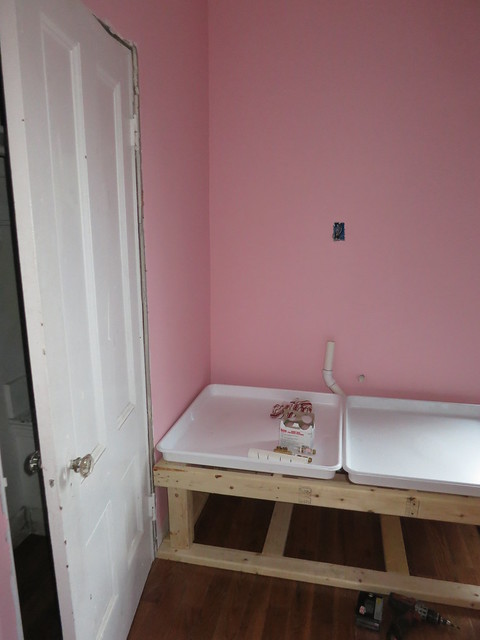
We still need to add baseboards and the laundry base but it’s coming along so quickly!
Sarah




Trackbacks & Pingbacks
[…] Automatic garage doors are becoming popular, and more people are planning to install these doors in their garages. They are preferred, but there are advantages and disadvantages of using this technology, and might not be a good idea for all home and garage owners. If you are wondering whether you should go ahead with the traditional doors or motorized doors, read on to know more about these doors, which will enable you to make a better-informed decision.Source […]