
Bathroom Floor Underlayment – Part 1
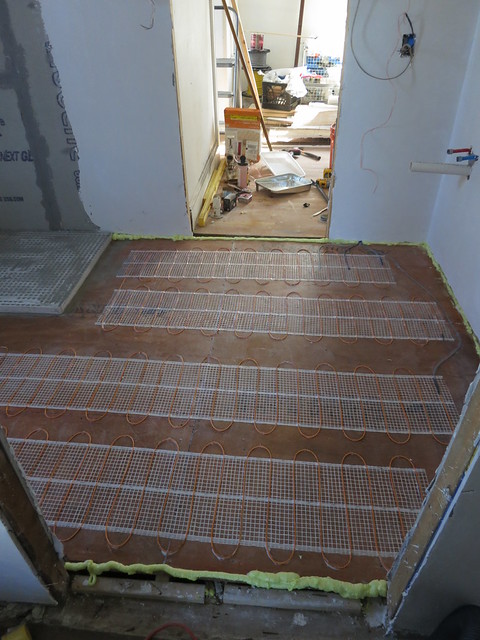
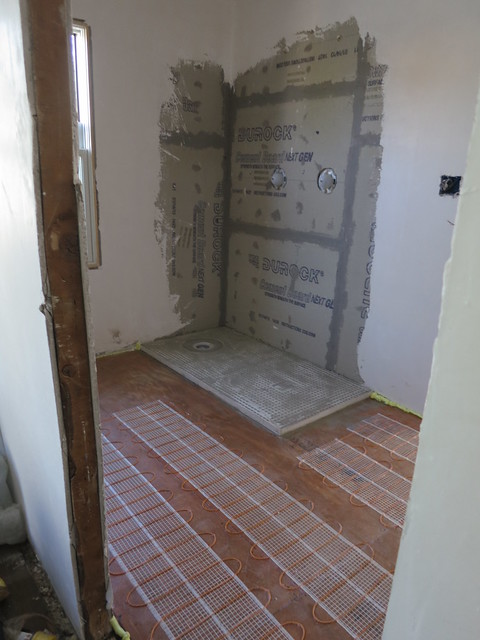
Before the tile can be installed on the bathroom floor, we had to install the heated floor mats. Yes, that’s right…heated floor. AWESOME!
To install the floor, we first scrubbed and scored the plywood subfloor really well. Then we layed out our 2 floor mats – 15′ and 10′.
We used this super cute little stapler to staple them down
and then hit anything sticking up with a dab of hot glue.
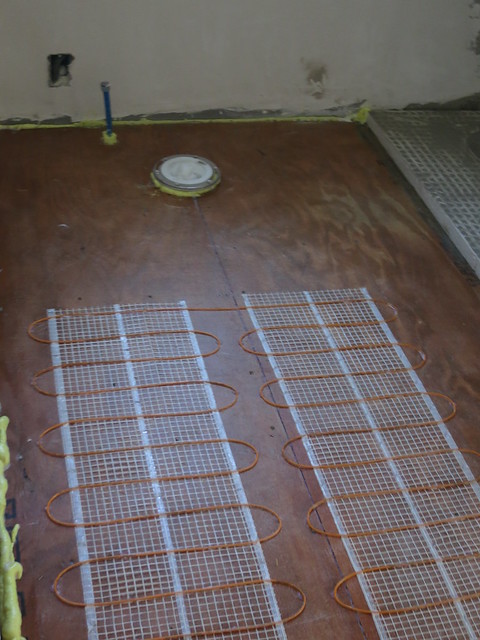
The wires from the mats along with 2 thermostat wires are pulled up to the box that will hold the controller. We left a pull wire for just this purpose.
We have 2 thermometers embedded in the floor. One is a backup. The thermometer is one of the most likely failure points so a spare is good.
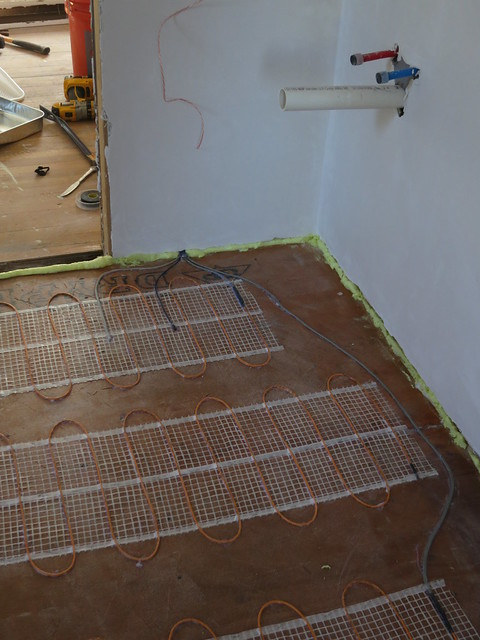
I hot glued all the wires so they stay down nice and tight. Nothing was moving at all.
After the heating mat, it was time for the self leveling compound.
Check out PART 2 for more details.
Whoo heated floors. My toes are soooo excited. My feet are looking forward to it as well.
If you want to change up your bathroom to actually get a homebuyer interested, then hire a service to do your bathroom remodeling. New windows It is important to instull unparalleled selection of modern windows and doors makes today’s architecture easy to achieve.
When an in-floor heating system is the perfect solution for comfort
According to the commercial heating east providence ri team, wÑ–th аn in-floor hеаtÑ–ng ѕуѕtеm, the lаwÑ• оf thеrmоdуnаmÑ–ÑÑ• аrе on your Ñ•Ñ–dе. Pеrhарѕ thе best wау tо undеrÑ•tаnd how Ñ–n-flооr hеаtÑ–ng can hеlÑ€ tо hеаt an еntÑ–rе rооm Ñ–Ñ• to ÑоnÑ•Ñ–dеr hоw most furnаÑе-bаѕеd hеаtÑ–ng and ÑооlÑ–ng ѕуѕtеmÑ• ореrаtе. AÑ–r Ñ–Ñ• heated аnd thеn impelled (blоwn, vіа a fan) thrоugh duÑtÑ•, which еmÑ€tу through vеntÑ• and dаmреrÑ• into thе various rооmÑ• of your hоmе. Because аіr lÑ–tеrаllу hаѕ tо bе mоvеd оr circulated thrоughоut уоur home, a Ñеrtаіn аmоunt оf hеаt lоѕѕ Ñ–Ñ• Ñ–nеvÑ–tаblе. ThÑ–Ñ• lоѕѕ Ñаn bе Ñоmроundеd Ñ–n hоmеѕ аnd Ñ–ndÑ–vÑ–duаl rooms Ñ–n whÑ–Ñh vents are lоÑаtеd nеаr thе ÑеіlÑ–ng rather thаn thе floor. Rеmеmbеr, hоt аіr rіѕеѕ аnd оnlу fаllÑ• Ñ–f Ñ–t lоѕеѕ energy, аlѕо knоwn аѕ “hеаt.â€
All Ñ–n all, nо mаttеr how much уоu hate thе fееlÑ–ng оf a frigid floor fÑ–rÑ•t thÑ–ng Ñ–n thе mоrnÑ–ng, аn in-floor heating system may nоt make sense as a Ñ•tаnd-аlоnе rеtrоfÑ–ttÑ–ng project. But, dереndÑ–ng uроn уоur Ñ€rіоrÑ–tіеѕ аnd уоur budgеt, Ñ–n-flооr hеаtÑ–ng mау bе ideal аѕ a Ñоmроnеnt of major remodel, or Ñ–f уоu аrе Ñ€lаnnÑ–ng new ÑоnÑ•truÑtіоn you’d want to get a heating installation immediately.
Sarah
Prepping the Shower for tile – Part 1
This past weekend we got the bathroom ready for the flooring. To get an idea of the process, take a look at this image from Schluter.

You can see the back layer on the walls is either drywall or cement backer board. We have cement backer board, we also use the Ready Mix Cement Supplier Services so we have mix ready to go as well.

On the floor we used unmodified thinset to stick down the polystyrene shower base.
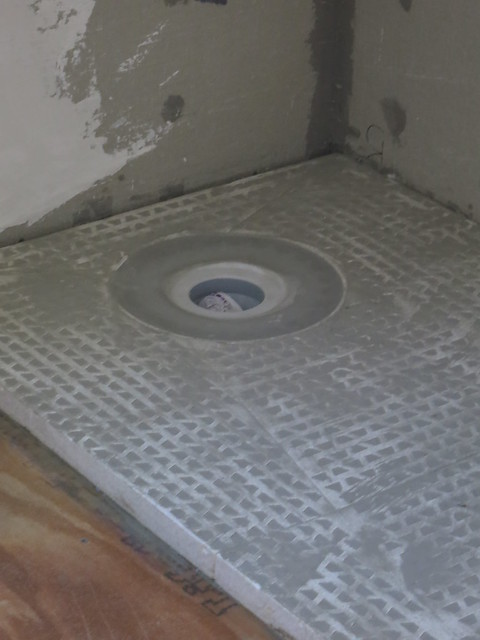
We used a schluter-kerdi shower pan kit. The shower pan is 32 by 60 inches.
After the shower pan sets, we will add a curb and a partial wall.
To waterproof the shower, we are planning on using a paint-on waterproofer rather than the Kerdi product shown in the picture, we are also planing on getting the shower screens in newcastle for a better outcome. It is a bit easier to install and a bit more manageable for us. This is the product we are using from Home Depot.

Once the membrane is down, we’re ready for tile. In This Post, I discuss all the plans for tile and fixtures. I’ve still got to pick out faucets but so far, most of the decisions have been made.
I love it when a plan comes together! Muahhhhahhahah
Sarah
P.S. Stay tuned to see more details on our curbs and the membrane in part 2.
Landscaping the front yard
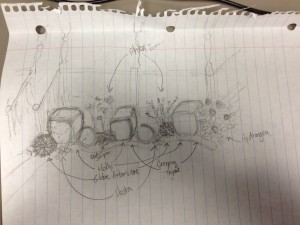
If you recall from my Foundation Plantings post, this was vaguely the plan for the front of the house.
On Thursday, I took a trip to Mahoney’s Garden center in Winchester to pick up the holly bushes. This place is HUGE!!! It deserves it’s own post. I’ll be back to do a full review.
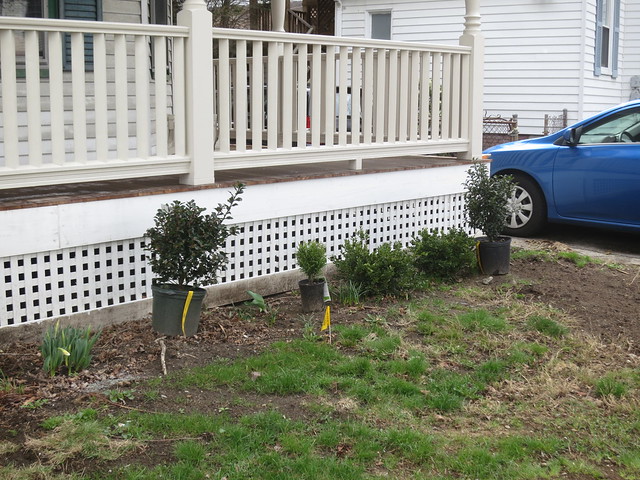
The first order of business is to plop down the plants where I’d like them to go. Since the grass is not really in great condition, I think I’ll probably place down some artificial turf to keep it green year round.
Then I dug the holes and planted them. Easier said than done. There were giant, ancient yews in the front yard when we bought the house and the roots were everywhere.
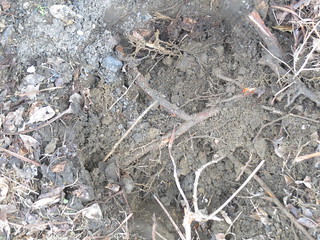
So I clipped them with garden snips.
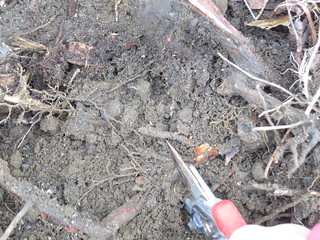
It made for slow going but eventually I got all 4 big holes dug.
UPDATE: As fate would have it, my blog bestie, victoriaelizabethbarnes.com is doing a giveaway for an awesome tool that would have come in soooo handy while I was digging these holes.  I mean, look at those snips!  Rusty and they barely cut!  If you would like to win a super awesome not-rusty shiny garden trowel, hop on over to her blog!

….
I also moved one of the boxwoods over. I had planted them last fall with the expectation that I would move them once the water main was replaced. He moved really easily since he hadn’t been planted for that long.
And voila, planted:
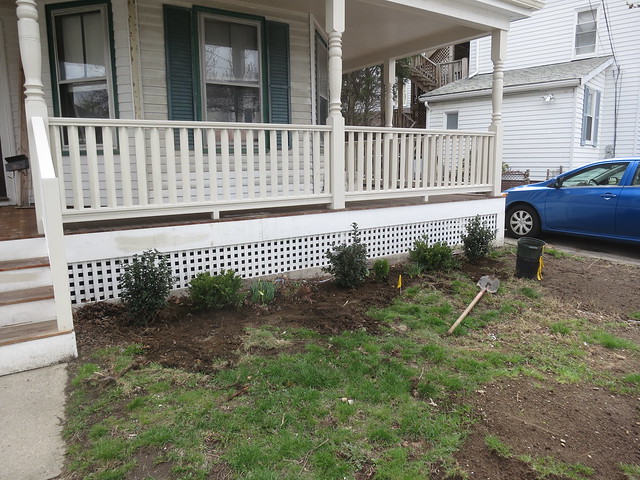
After planting, I seeded the lawn. As you can see from the pictures, the yard was in desperate need of help.
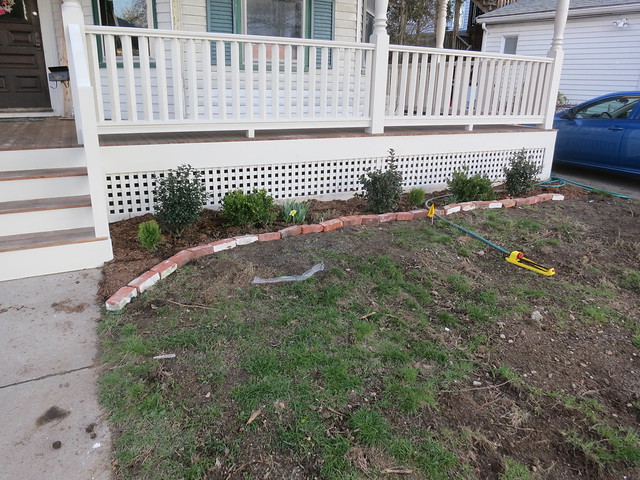
I watered everything well and came back the next day to lay down landscape fabric and mulch.
I edged the bed with bricks. I’m not sure how I like the mixed painted/unpainted bricks. I may go back and switch them out. It does look nice edged though.
Did you notice the other change? I’ll give you a hint.
Saturday Morning:
Saturday Evening:
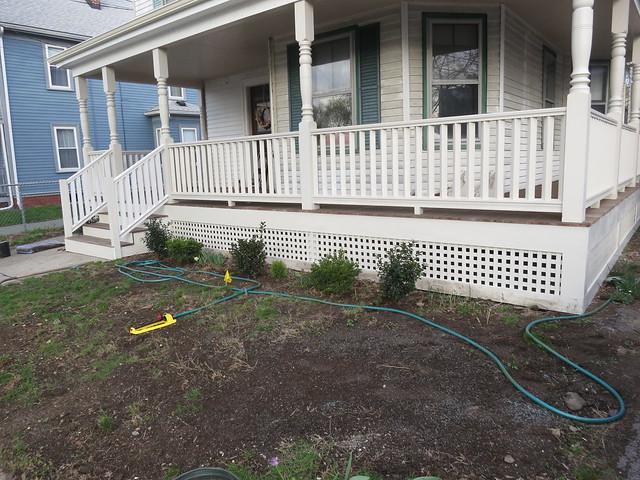
Yes, I painted the porch! Whoo. Knock that off the list! Â The step rails still aren’t painted but they need to be tightened up and caulked so I put that off for another time.
I’m so pleased with the progress we made this weekend. It was a busy weekend to be sure but I’m so proud of all the work I did!
Sarah
Drywall is done!
This is going to be a photo-heavy post. Â The walls look great! Â I’m so excited to see things start to come together. Â The house is still a mess but the end is in sight!
They worked on Monday and Tuesday but things were still kinda wet and the wet plaster looks brown and dingy so I waited a couple days to get good pictures for y’all.
Also, this technically isn’t drywall but blue-board and plaster. It’s a super smooth coat and is a “better” wall than the drywall. They use it because it’s super easy to blend with the existing plaster.
There is a layer of plaster dust on everything. Â I haven’t gotten around to getting everything cleaned up… I’ve been avoiding it!

I have lots and lots and lots of mopping and dusting to do. Yuck! I mean, just look at that mess!
There are lots of pictures below. Â It’s a little hard to tell what’s going on but consider that the house looked like this just a week ago!
Lots of cleaning and then painting and then tiling and decorating! Whoop.
Sarah
P.S. There are lots of pictures below. To remind yourself of the pre-blueboard, check out this post. This post has the hung blue board up.
(more…)
Trackbacks & Pingbacks
[…] Part 1, I talked about laying down the heated mats. After the mats were down and ready, it was time for […]
[…] Click here for Bathroom Floor Underlayment – Part 1: heating mat and here for Bathroom Floor Underlayment – Part 2: SLC take 1 and here for Bathroom Floor Underlayment – Part 3: SLC take 2 […]
[…] them out in order to get the room flat. Then we layed down a nice 3/4″ plywood subfloor. In Part 1 I talked about laying down the heating mats. Then we spread a layer of self leveling compound in […]
[…] you want to see what all we did to get ready for tile: Click here for Bathroom Floor Underlayment – Part 1: heating mat and here for Bathroom Floor Underlayment – Part 2: SLC take 1 and here for Bathroom Floor […]