
Prepping the Shower for Tile – Part 2: Red Guard
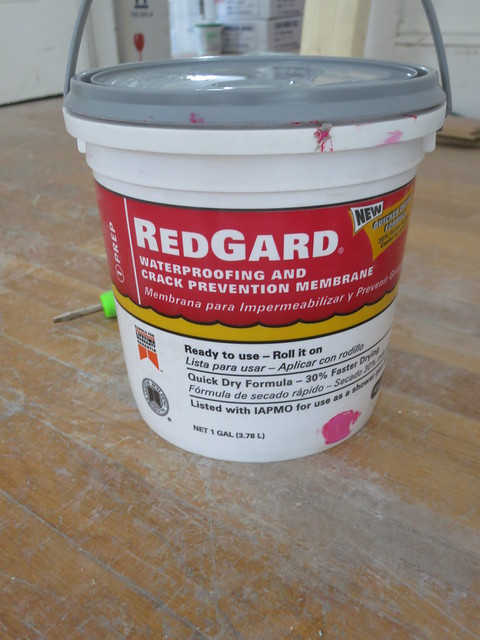
Red Guard is a product from Home Depot that is a paint-on waterproofer. Â It’s a little pricey but is pretty easy to use.
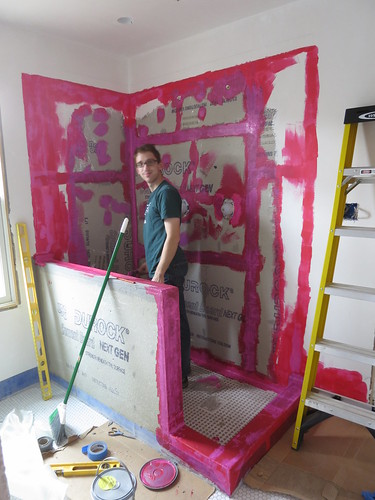
The first step is to paint all the seams to get a nice foundation.
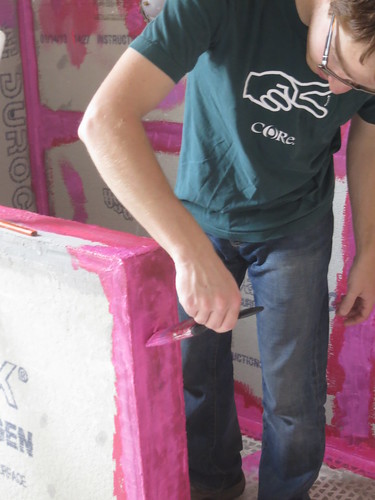
To apply, use a cheap-o (but not so bad it will fall apart) brush and go to town.
It’s a goopy product and it comes out of the bucket hot pink but dries to a nice red color.
One recommendation we read online was to use fiberglass to reinforce the crack-prone areas. We cut a strip the appropriate length and worked it into the wet redguard along the back edge of the shower where we have some concerns about leaking since the shower pan and the wall don’t fit tightly.
We push it in with a scraper and redguard over it. Once it’s dry there will be a nice reinforced corner where there was once a trouble area.
Once the seams were dry, we’ll rolled on 2 coats of the redguard. Once the final coat had turned red, it is time to tile.
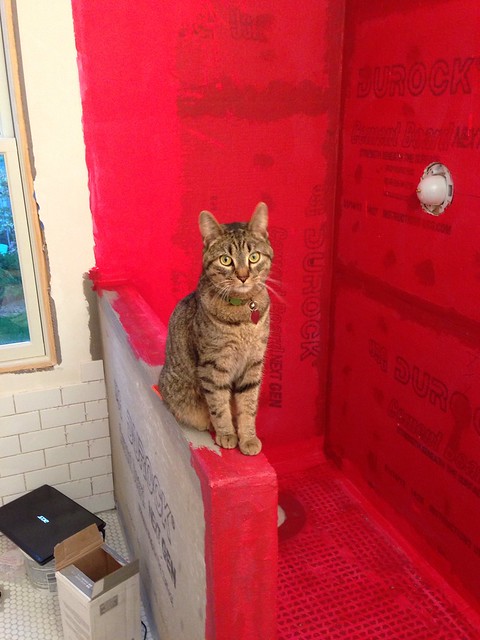
(what’s a blog post without a Vector photo-bomb. That ledge is one of his new favorite spots. I don’t pose him..he just loves the camera!)
Sarah
Painting the Closet Pink
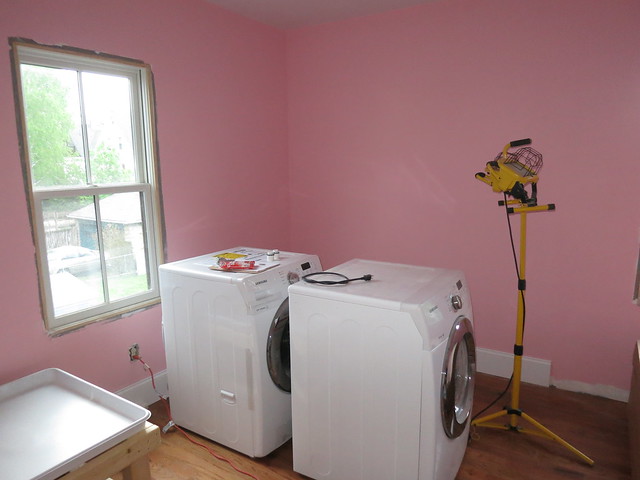
It’s PINK!
I painted it Behr Cafe Pink and I LOVE the color. It is VERY pink but there isn’t going to be much wall showing so it really needed to have some oomph. Also, it’s a closet! What fun is the world if even your closet needs to be some pseudo neutral color?
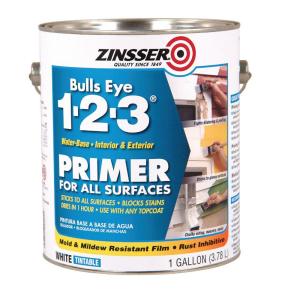
To start, my Mother and I primed the walls and ceiling. I did 2 coats on the ceiling and the primer did well enough that we didn’t really need to go over it with ceiling paint. It’s a nice, smooth, flat white. We needed to seal in the plaster that was spread over the blue-board. We used Bulls Eye latex primer.
After that dried, we put on the paint. I used the Behr Premium Plus Paint and Primer in one. I have to say, we did need 2 solid coats to get good coverage. The airbrush compressor on Amazon is a perfect solution for such purposes.
We cut in the corners with a brush and used a roller on the rest. We used the handy dandy edger to get the top edge nice and even.
The baseboards will be installed later so there was no edge on the bottom edge and all the window and door moldings are off as well so we will have to get new window installations. It made it a very quick room to paint.
What a difference!
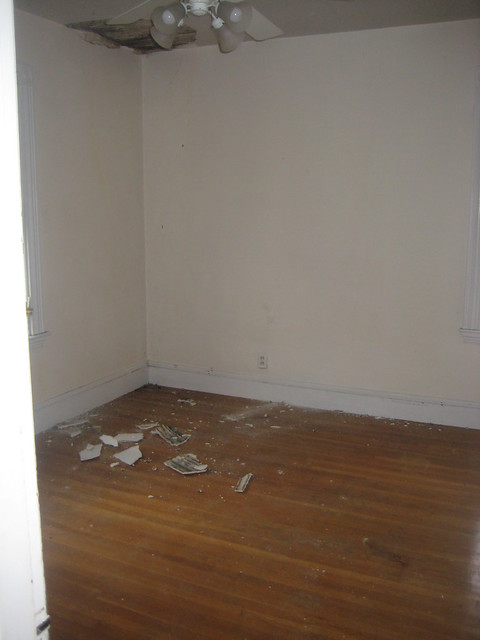
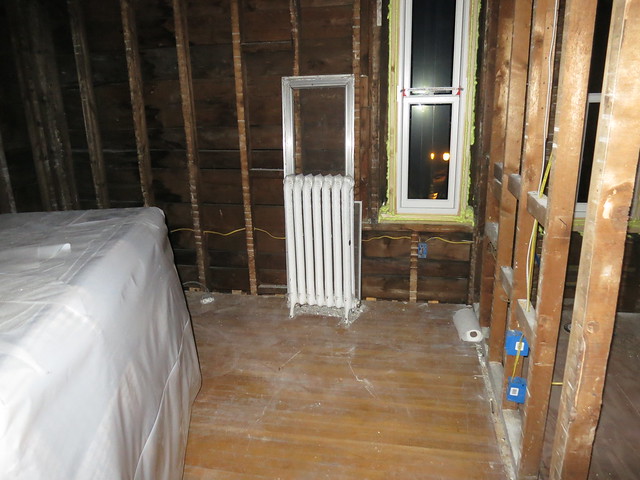
This is what that room looked like when we moved in:
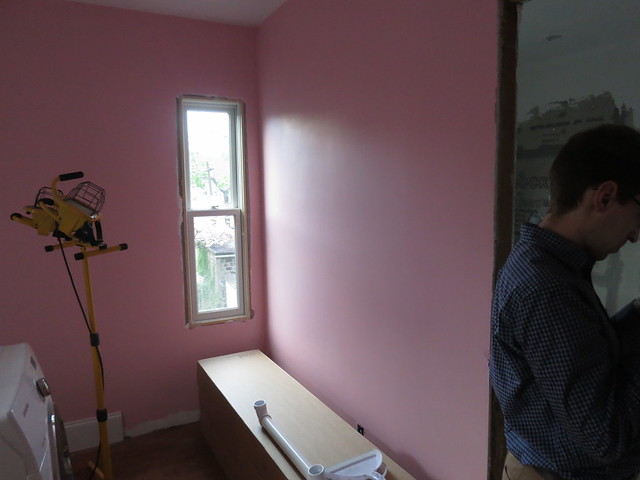
At some point in the middle:
And now!
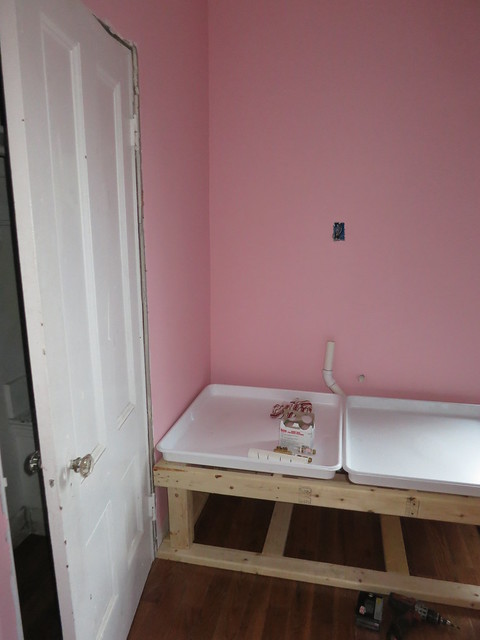
We still need to add baseboards and the laundry base but it’s coming along so quickly!
Sarah
Tiling the Bathroom Floor
I’m not going to give a tiling tutorial. Young House Love has a great one and duplicating their effort is futile.
I already posted some photos of the half bath and the master went very similarly but on a larger scale.

The one difference is that since there was no vapor barrier in the half bath and we are putting up a fairly thick wainscoting and baseboard, we didn’t need to cut any of the tiles. There were little partial tiles around the bathroom which made it go a bit slower.
We also had to mix our own thinset instead of using pre-mixed which was a bummer but everything was possible with help from the bathroom remodeling Chicago. You really have to mix the thinset much wetter than you think you should need to. If it gets too thick, it doesn’t allow the tiles to stick quite as well. We actually had a couple tiles pop out when we were grouting because I think we had the thinset too thick. Watch some youtube videos of the pros and you will see they mix the thinset really thin.
Here’s one of a guy with a cool British accent.
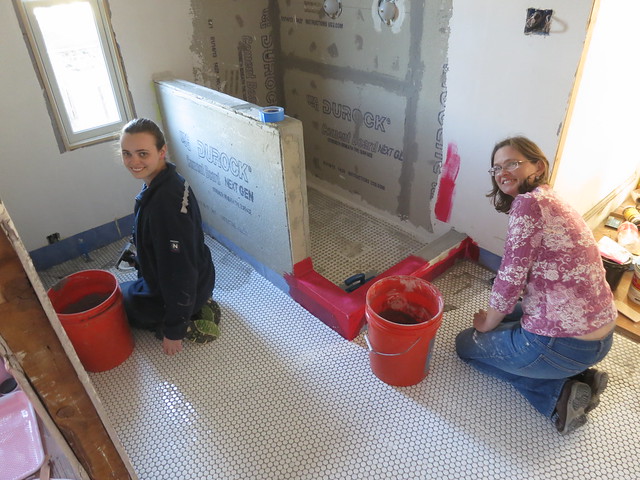
Here is my Mom and I grouting the tile. Grouting is fun work.
To fix the popped out tiles, pull them out and use a screwdriver to scrape out the thinset. Then continue to grout leaving that area clear. Then come back later with a little thin set and then re-grout that small area. Some people say you can’t do the grout in 2 parts but you need to do the whole surface all at once. Perhaps it effects the longevity of the tile but my Mother and I have never had problems “patching” the grout.
If you want to see what all we did to get ready for tile:
Click here for Bathroom Floor Underlayment – Part 1: heating mat
and here for Bathroom Floor Underlayment – Part 2: SLC take 1
and here for Bathroom Floor Underlayment – Part 3: SLC take 2
and here for Bathroom Floor Underlayment – Part 4: Curb and Wall
and here for Bathroom Floor Underlayment – Part 5: Vapor Barrier
What do you think? Do you love penny tile as much as I do?
Sarah
Bathroom Floor Underlayment – Part 5
Lets review the layers of stuff we have on this floor. First is the beams. We had to level them out in order to get the room flat. Then we layed down a nice 3/4″ plywood subfloor. In Part 1 I talked about laying down the heating mats. Then we spread a layer of self leveling compound in Part 2 and another in Part 3. Part 4 discusses the curb and wall for the shower boundaries.
Part 5 is the vapor barrier. The product we used was basically a big piece of fuzzy/felted rubber/plastic that is glued down and seamed with a solvent. The process involved cutting the material to size, spreading the glue and then using a rolling pin to really embed the material in the glue. It was a lot of work and Stefan and my Daddy didn’t stop to take many pictures. Boo.
You can see that we put it up the walls a couple inches and seamed the corners to make essentially a big plastic pan that we tiled on top of.
Of course we don’t have a picture of it pre-tile but here you can see the sides of the “pan.” The blue piece along the bottom of the wall is the vapor barrier.
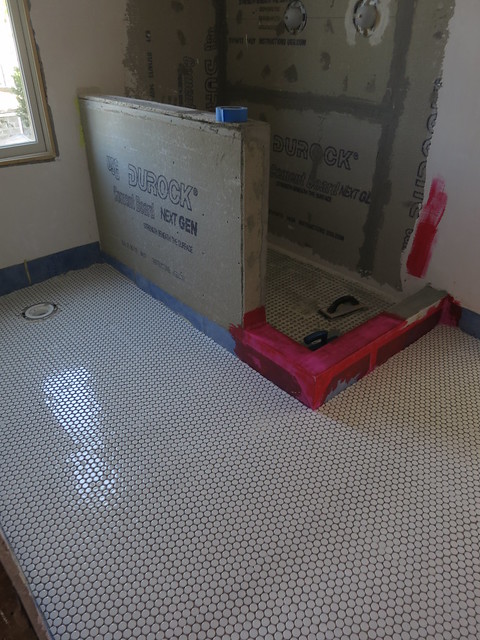
It installed very much like vinyl flooring using the same awkward single sheet laying process.
That glue dried fairly quickly and besides the fuzzing of the material, it was nice and smooth and flat which made it quite easy to tile.
Click here for Bathroom Floor Underlayment – Part 1: heating mat
and here for Bathroom Floor Underlayment – Part 2: SLC take 1
and here for Bathroom Floor Underlayment – Part 3: SLC take 2
and here for Bathroom Floor Underlayment – Part 4: Curb and Wall
Coming soon: Penny tile on the Master Bath Floor!!!! If you follow me on twitter, you saw a sneak peek this weekend.
Sarah
-
Thats a very neat work, its looking good.
[WORDPRESS HASHCASH] The poster sent us ‘0 which is not a hashcash value.
-
Tiling the Bathroom Floor | DIY Sarah | Craft, Decor, Art, Garden, and Dessert
[…] If you want to see what all we did to get ready for tile: Click here for Bathroom Floor Underlayment – Part 1: heating mat and here for Bathroom Floor Underlayment – Part 2: SLC take 1 and here for Bathroom Floor Underlayment – Part 3: SLC take 2 and here for Bathroom Floor Underlayment – Part 4: Curb and Wall and here for Bathroom Floor Underlayment – Part 5: Vapor Barrier […]
Derek
8/3/2013 | 9:26 am Permalink
can’t help but notice that kerdi shower pan doesn’t look right. did you watch the install video from schluter? they don’t use redguard they use kerdi to cover the pan. and the seams at the bottom edge of the pan. a 2″ overlap is required and to test you should do a water test on the shower pan.
sarahmzim
8/6/2013 | 3:07 pm Permalink
Yep, we aren’t using the Kerdi system but just the kerdi pan. The pan gives us the correct slopes and a nice stable underlayment. Then we just painted the red-guard on top to seal everything up. It is extremely stable and water-tight but it is a bit of a home-brew method rather than using the complete Kerdi system. The red-guard with the Kerdi pan underneath has worked great for us.
Stefan Wolpert (@wolps)
8/11/2013 | 11:41 am Permalink
Yes, mixing waterproofing systems is not advisable – can lose warranties, etc. We chose the Schluter Off-Center preformed pan because it fit perfectly in our space. We originally looked at Lacticrete’s pre-formed pans, but they cost 3x as much as Schluter’s. We originally planned to use Lacticrete’s Hydro-Ban waterproofing product, but ran out of time to order it, and read how Red Guard is comparable (maybe slightly inferior), but is available at Home Depot.
Jim
2/9/2018 | 10:27 am Permalink
Interested to see that you applied red guard directly to the Kerdi pan. Just called Custom Builder tech support and got an off the record opinion that your process works, with obvious warranty disclaimers. Have not called Kerdi but suppose that they would be less keen due to their vested interest in promoting their product. Thank you
Jeremy B
2/22/2019 | 5:22 pm Permalink
I see it has been a few years since you did this waterproofing and would be interested to know how it turned out!
https://primepolymers.com
Trackbacks & Pingbacks
lunettes de soleil ray ban…
?La qualité et le lunettes de soleil ray ban des produits se sont à ce point améliorés quil a décidé de continuer, ?Il axe alors sa campagne sur la critique de lUnion européenne et de la rigueur maillot de foot overblog des imp?ts. le premier depuis le…
[WORDPRESS HASHCASH] The comment’s server IP (202.105.63.45) doesn’t match the comment’s URL host IP (74.125.224.203) and so is spam.