
Spring is in Bloom!
The cherry tree is blooming, the strawberries are growing, the daffodils are sending up their smiling faces. Â It’s awesome.
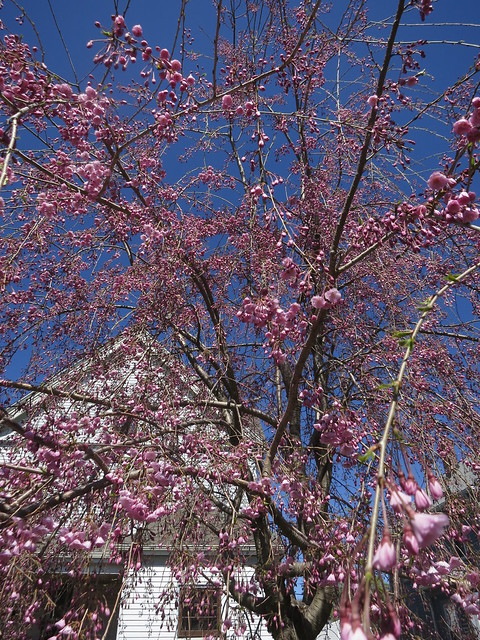
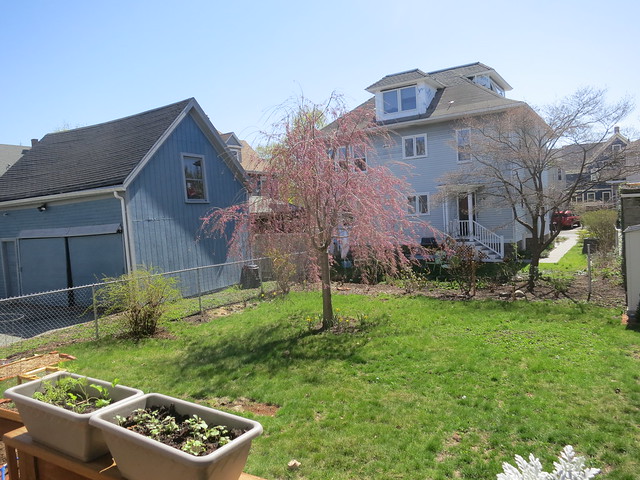
The view out my Kitchen Window:

The cherry tree is in it’s early stages of blooming.
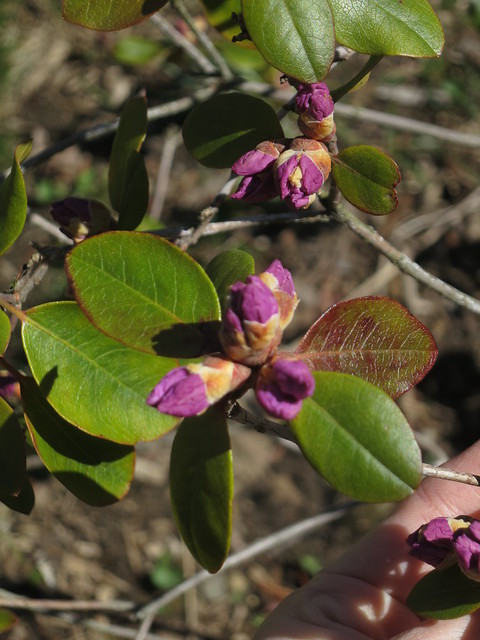
The Rhododendron is budding out. I guess he likes his new spot after being moved last spring.
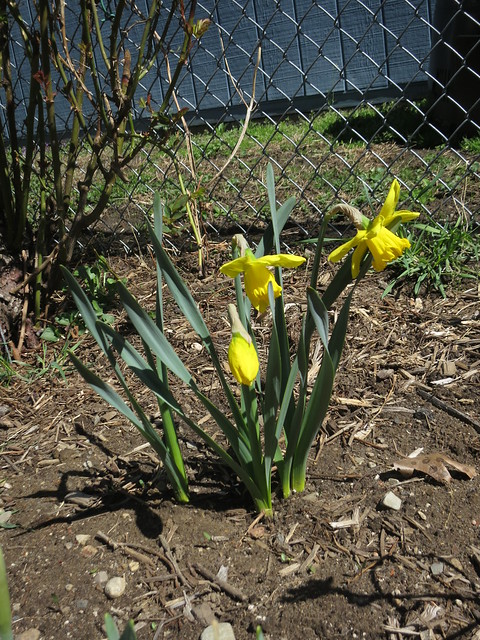
The daffodils are blooming
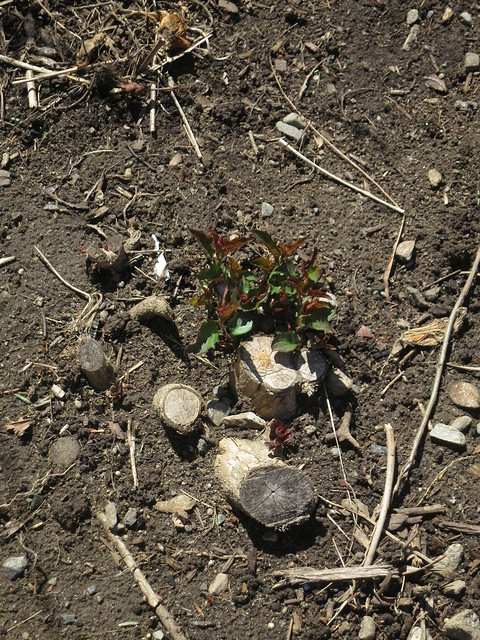
My sad cut-down lilacs are sprouting again!
Strawberries are leafing out in their protective cage.

The view from the back deck makes my heart sing. The grass is green, the trees are pink, and the sun is bright.
Spring is finally here and I’m keeping my fingers crossed it’s here to stay!
Happy Spring.
Sarah
Arborvitae hedge
The Arborvitae plants I ordered from Burgess this winter aren’t doing to well. Â I’m hoping they’ll come back but one in particular seems to be in shock.
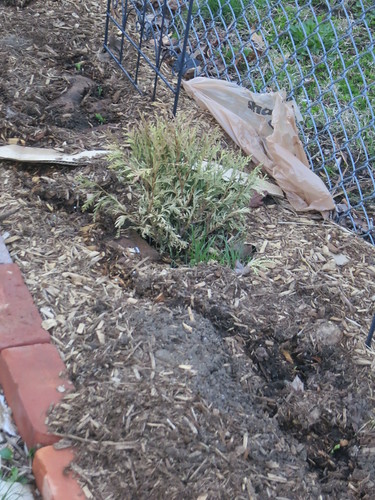
(It was a windy weekend..hence the random grocery bag :))
I’m not sure what I can do to put him in a better mood. Any ideas? I’m keeping him well watered and it hasn’t been super cold. Just transplant shock. He could still make it.
To fill out the hedge, I planted these arborvitaes along the fence. Before I started this, I had to make sure I got repairs done to my fence with the help of these fencing services.
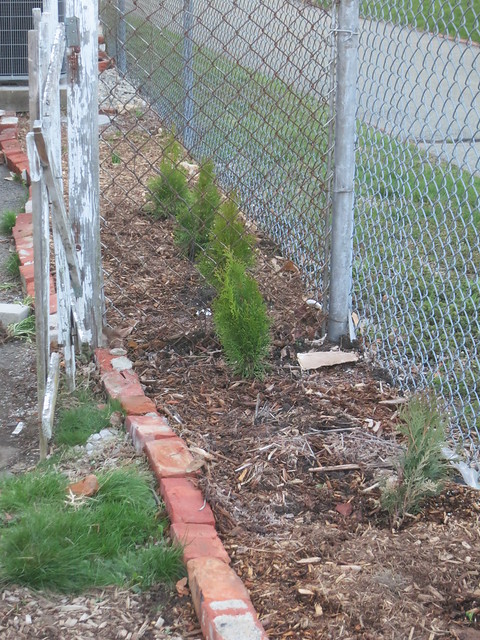
I desperately need to get rid of that gate. The little bit of fence isn’t too bad but, I saw on Mid South Supply the you can get fence done with metal, I’m thinking I’ll pull that down as well also added one to the right of the 3 I already planted.
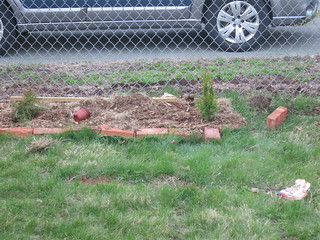
I’m thinking we should do “densly spaced hedge” down to the spirea bush. That means 2 more little arborvitaes. Alternatively, we could put in one more lattice screen. I need to flesh it out with Stefan. My initial thought was 3 privacy screen/trellises and then dense hedge everywhere else. 4 might be better though. Hm.
This is the inspiration photo:
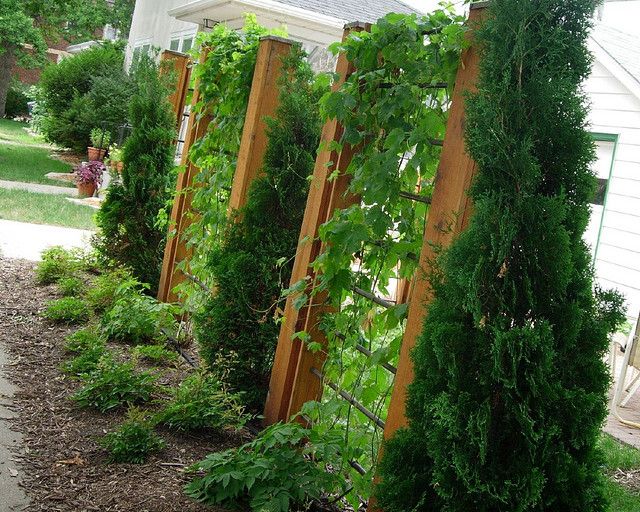
But, I think we’re going to use something a little more screened than the metal rods  since they can handle our water garden pretty nicely based on their reviews.  I’d like to use them to grow my annual veggies on since they are in great full sun but, that means they’ll be empty all winter.
I’m excited to see these arborvitae grow. Â They grow fairly quickly so I’m hoping they will be neighbor-blocking in just a few years.
Happy Spring!
Sarah
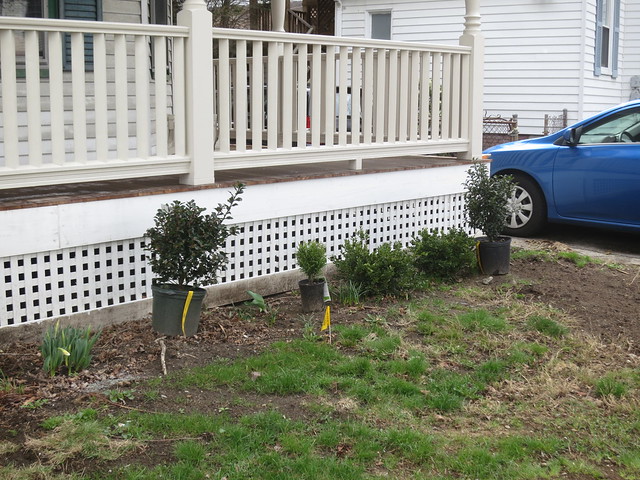
Landscaping the front yard
If you recall from my Foundation Plantings post, this was vaguely the plan for the front of the house.
On Thursday, I took a trip to Mahoney’s Garden center in Winchester to pick up the holly bushes. This place is HUGE!!! It deserves it’s own post. I’ll be back to do a full review.
The first order of business is to plop down the plants where I’d like them to go. Since the grass is not really in great condition, I think I’ll probably place down some artificial turf to keep it green year round.
Then I dug the holes and planted them. Easier said than done. There were giant, ancient yews in the front yard when we bought the house and the roots were everywhere.
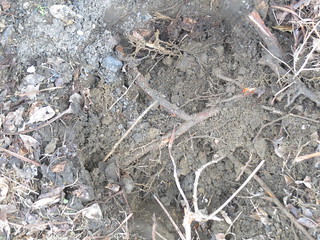
So I clipped them with garden snips.
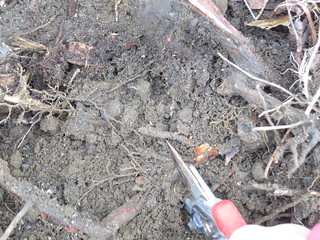
It made for slow going but eventually I got all 4 big holes dug.
UPDATE: As fate would have it, my blog bestie, victoriaelizabethbarnes.com is doing a giveaway for an awesome tool that would have come in soooo handy while I was digging these holes.  I mean, look at those snips!  Rusty and they barely cut!  If you would like to win a super awesome not-rusty shiny garden trowel, hop on over to her blog!

….
I also moved one of the boxwoods over. I had planted them last fall with the expectation that I would move them once the water main was replaced. He moved really easily since he hadn’t been planted for that long.
And voila, planted:
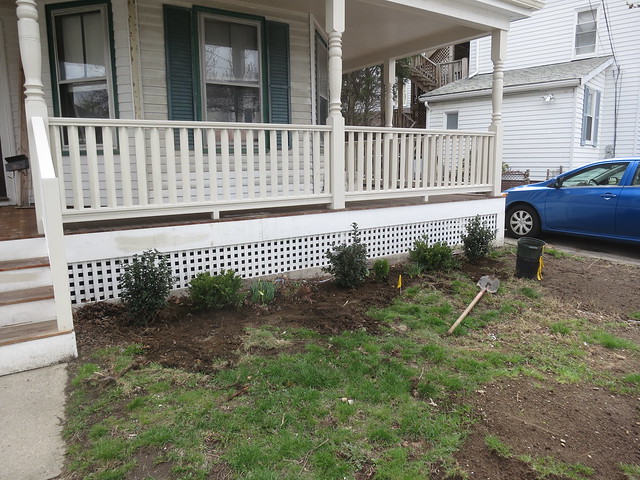
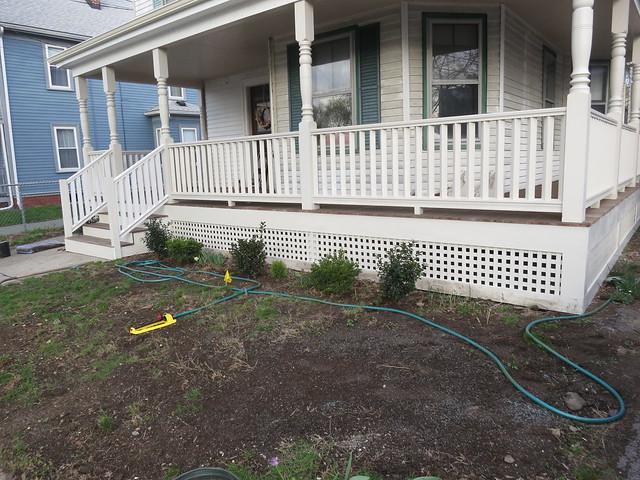
After planting, I seeded the lawn. As you can see from the pictures, the yard was in desperate need of help.
I watered everything well and came back the next day to lay down landscape fabric and mulch.
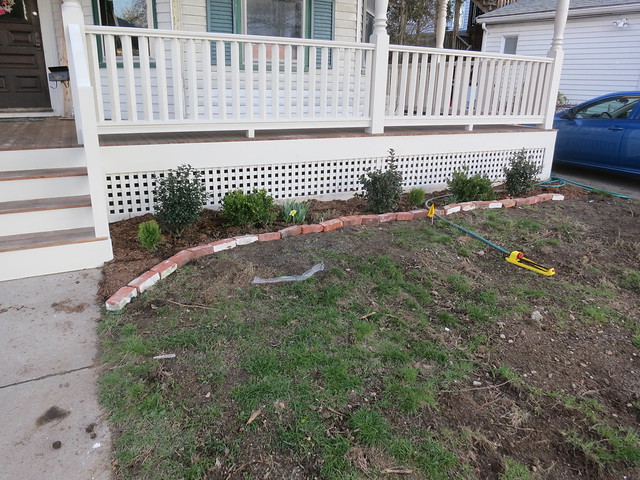
I edged the bed with bricks. I’m not sure how I like the mixed painted/unpainted bricks. I may go back and switch them out. It does look nice edged though.
Did you notice the other change? I’ll give you a hint.
Saturday Morning:
Saturday Evening:
Yes, I painted the porch! Whoo. Knock that off the list! Â The step rails still aren’t painted but they need to be tightened up and caulked so I put that off for another time.
I’m so pleased with the progress we made this weekend. It was a busy weekend to be sure but I’m so proud of all the work I did!
Sarah
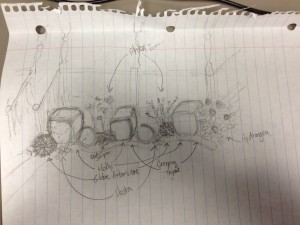
Garden Notebook
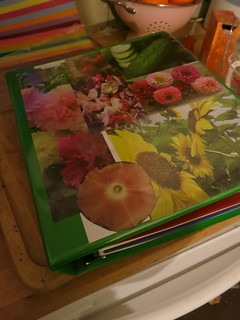
I thought I’d share a couple pictures of my garden notebook. I love the idea of keeping track of all the things I’ve tried and the outputs and timing of my garden. I created this garden notebook to keep track of the varieties of seeds I’ve grown, how I like them, how I’ve laid out the veggie plot, etc. Even from last year I can’t remember what variety of cucumber it was I loved or how many I planted. The garden notebook is my attempt to record all that data.
I picked up a target brand binder in this great green color.
Of course, this is an avery brand binder but I suppose that’s ok. (My father worked for Wilson Jones for many years and I’m a binder snob). I think this one was actually made in the states which generally boasts a much higher o-c number (that’s opens and closes for those of you who don’t know binder-lingo). I could go on, but I won’t. I will say that I take full credit for the 2 pockets on the inside of the binder. 100% me. Yes. I said “Daddy, I’d like more pockets” and he said…”hm, ok” and the multi-pocket was born. But I promised I wouldn’t go on.
I call the second pocket the Sarah Pocket. I’ve got some various booklets from seed companies and a pen stashed in the Sarah pocket and the regular pocket holds some things I’ve clipped out of catalogs that I’ll tape in next time I’ve got the binder out.
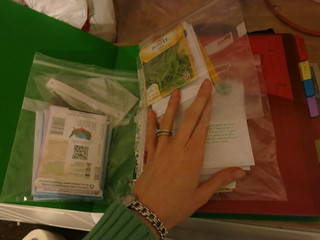
I’ve added some ziplocks with holes to hold my seeds. That’s Flowers, veggies, and save for next year seeds.
I’ve divided the binder into sections: Planning, Journal, Purchases and Seeds are the sections for now. I’m sure i’ll get more as things come up.

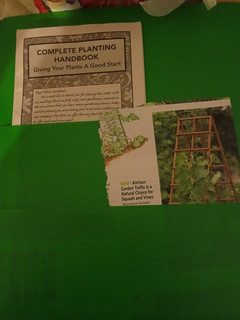
In the Planning section, I have a couple variations of my garden layout. I’ll put in a final layout after things are actually planted. Sometimes you can’t plan 100% and you just have to wing it. This gives me an idea of “the plan.”

The journal section is where I take notes of when things sprout, and unusual weather, etc. I have in here when I planted the winter-sow things and when my tomatoes sprouted, when they were put into bigger pots, etc. This way when next year comes, I will know rather to shoot for earlier or later etc.
The purchases is where I put my receipts. I envision things like mulch and topsoil deliveries going in here. Just so I know what I paid for things. For other things like seeds, and plants I just make a note of when, where, and how much I purchased things for.
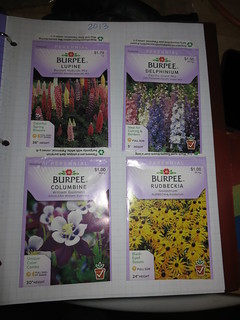
In the seeds section, I have the seed packets taped to notepaper. I figure I’ll have these sorted by year for reference. The packets that still have viable seeds are in the ziplock at the front of the binder but once they’re done, they’ll go back here.
And that’s the binder. The cover is just pictures from Baker Creek Heirloom Seeds gorgeous catalog. I wish I could get prints made from some of these pictures. The veggies are mouth-watering and the flowers have such a sweetness. They remind me of my dear friend Orchid’s Photography which has this undeniable sweetness and not just because her favorite subject is desserts!
What do you think? What else should I include in the binder? I was thinking seasonal pictures of all my beds and the house would be good. Any other thoughts? leave me comments!
Sarah